Looking for a Disney-Themed Classroom? Decorating the outside of my room is not my favorite activity to do when all the back-to-school stress is hitting hard. But it is a great way to display student work and make the school building feel inviting.
Disney-Themed Classroom
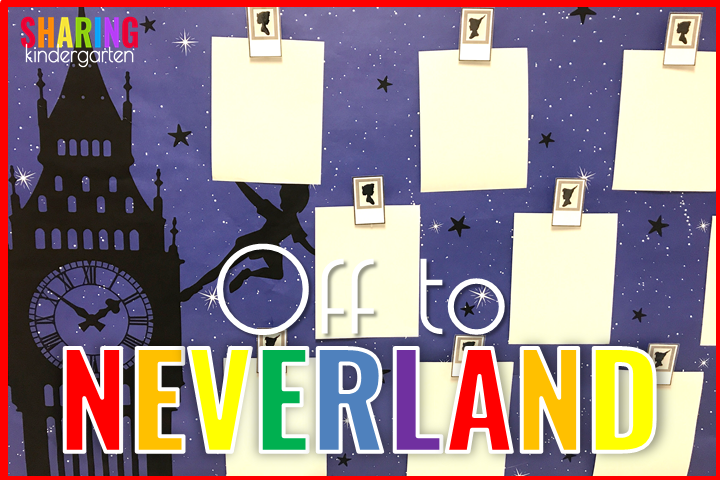
Our school allows each team to come up with a theme outside their classrooms. Kindergarten’s theme is Fairy Tales. This year’s inspiration struck when I adopted the fairy tale of Peter Pan and decided my students were going to go Off to Neverland. I am a Disney fan and I was excited to use this Disney Themed Classroom idea.
Let me show you how I created this simple hallway display.
Step 1 The Disney-Themed Classroom Background
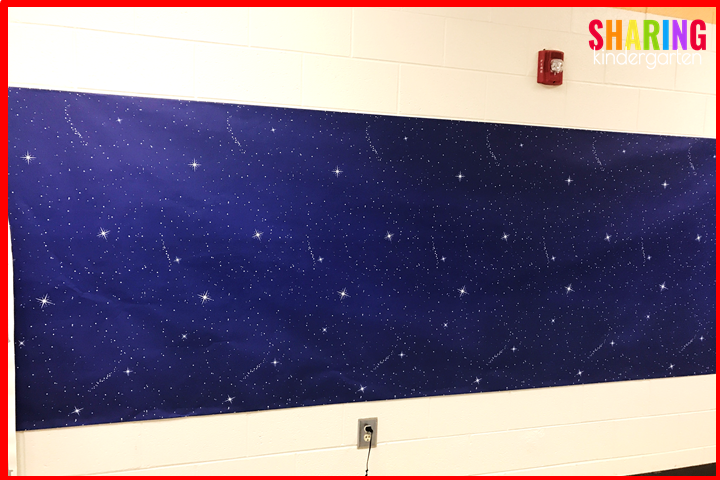
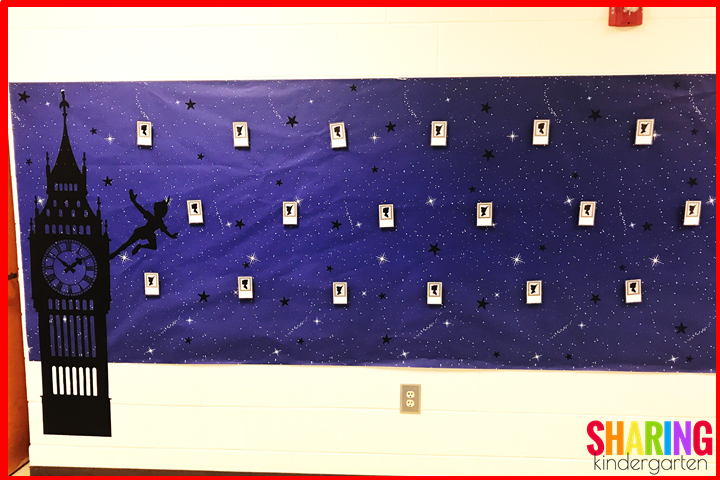
I started off by using fadeless bulletin board paper for the background that has a Night Sky already on it. My original goal was to cover the entire wall but when I saw my allotted space, I saw a fire alarm on the top and an outlet on the bottom. I needed to leave both of these open. I could have covered a bit more room, but since this is the amount of space the paper roll covered, and time was limited, I left it.
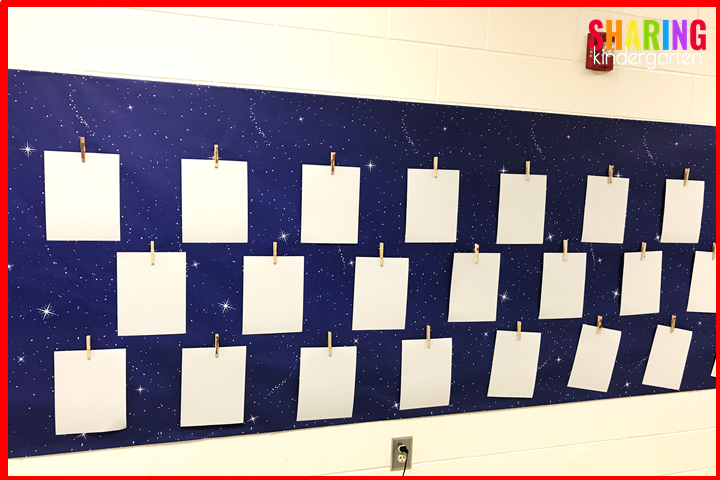
Step 2- Clips for Student Display

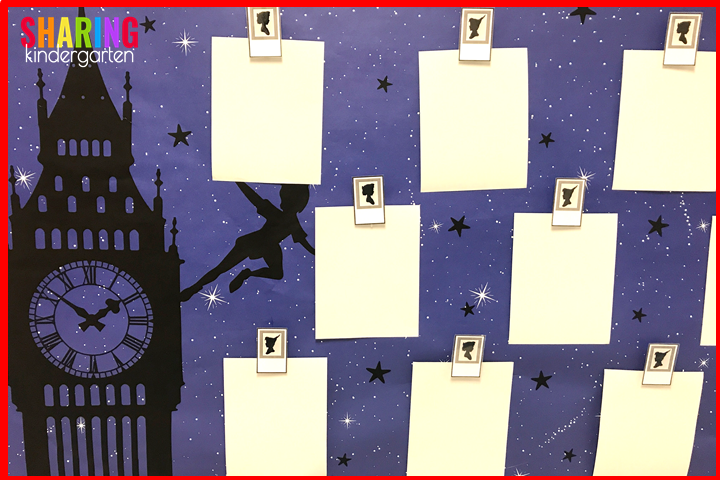
Use the cinder block walls to help form lines and keep everything level if possible. They became my guide to applying the clothes pins. I would feel to find a corner of the bock and glue down one clothespin. Then I would hang up a gray paper to serve a piece of student work on display. This allows me to make sure all my clothes pins allot enough space for actual student work. Use this tip especially when you move on to the next row down.
Step 3- Décor for their names
Next, I added a small silhouette piece I created to the front of each clothespin. These pieces either have a Wendy silhouette or a Peter Pan silhouette. I made sure the design was in a pattern for Wendy, Peter, Wendy, and Peter. I was able to do this because I knew I had an even number of boys and girls this year. I did create 24 spots even though I had 20 students on my roster. We grow students fast in Kindergarten so I knew the extra spaces would be a smart way to think ahead.
Although I created the background for these pieces, I ordered the black die-cut pieces on Etsy. I measured the die cuts and made a background for them using tones of gray, leaving enough space for student names. I glued the silhouettes to the paper and laminated them. Soon, I will add student names so each student gets their own clip for displaying their amazing work.
Step 4- Adding Extra Details
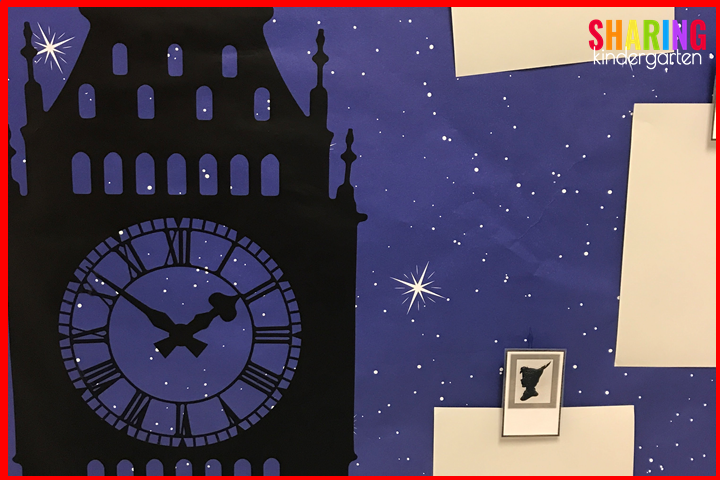
On the far left of my display, I added a vinyl image of Big Ben. Since I originally envisioned a much larger space covered with night sky paper, I got a BIG Big Ben. It turns out I didn’t need such a large piece but… no worries. I was going to make it work. I have never purchased vinyl for a wall décor before, but the details in this piece were amazing. I loved how the dark colors could look like shadows, which play a big role in the Peter Pan movie. I ordered this decal from The Decal Guru.
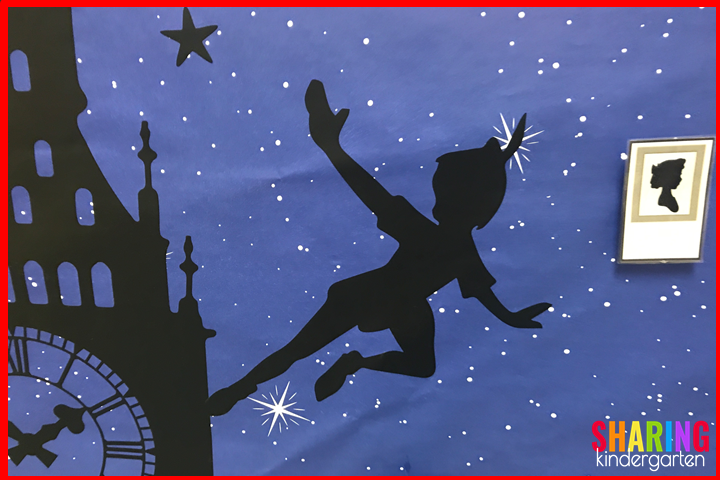
Next, I added Peter Pan to Big Ben. Many school staff members were walking up and down the hallway as the wall was being constructed. They all felt that Peter should be on the clock. So we had to make that happen.
The pack came with lots of black stars, so we scattered those around the paper as well. I was worried they would take away from the look of the white stars on the paper already but in the end, I think they just added a little bit more.
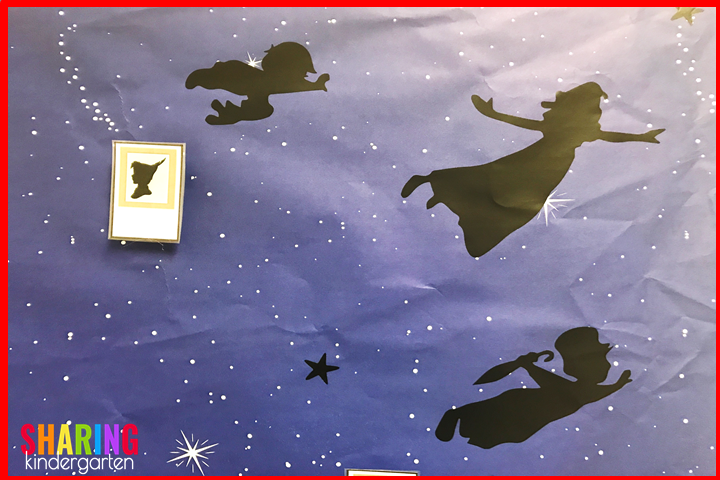
Lastly, I added Wendy, Michael, and John to the corner. Some people don’t even see them but I love how they are not noticeable until you look deeper.
Off to Neverland’s Final View
You can see how the final product of my Disney-Themed Classroom turned out once we removed those place-holding gray sheets of paper. I am still debating whether to add a city rooftop to the bottom of this paper. It might look amazing, but it will most likely get destroyed easily with typical hallway traffic and school wear and tear.
I have some more Off to Neverland details on display in my hallway so I hope to share those with you soon.
-
 Color Words Activities$5.00
 -
Classroom Library Labels$14.00
-
Classroom Rules and School Rules$5.00
[…] Kindergarten shared her amazing Off To Neverland room! Gorgeous! Click here to see more of her classroom transformation! […]