

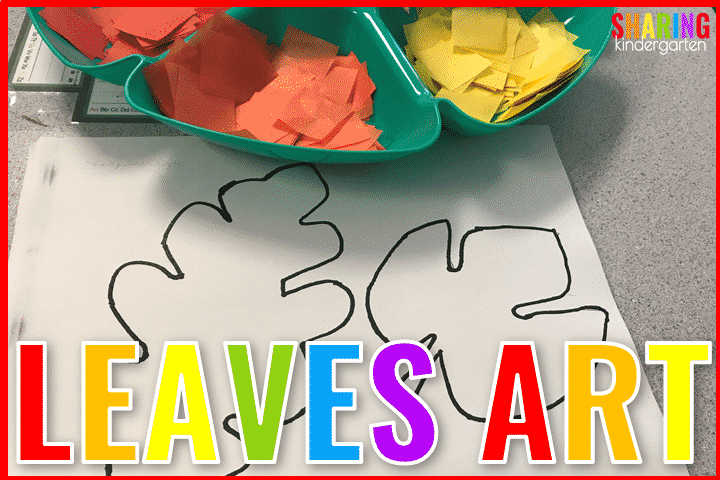
Check out this fun art project for the fall that even the littlest learners can complete: Tissue paper Leaves Art.
You Will Need These Items for Tissue Paper Leaves Art
Here are the items you will need for Tissue Paper Leaves Art:
- Food sorting tray (I got mine at the dollar store.)
- Tissue paper squares
- Glue bottle
- Pencil
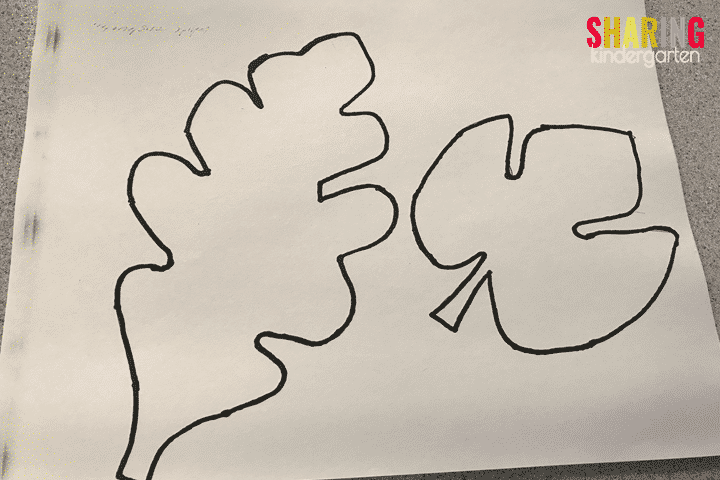
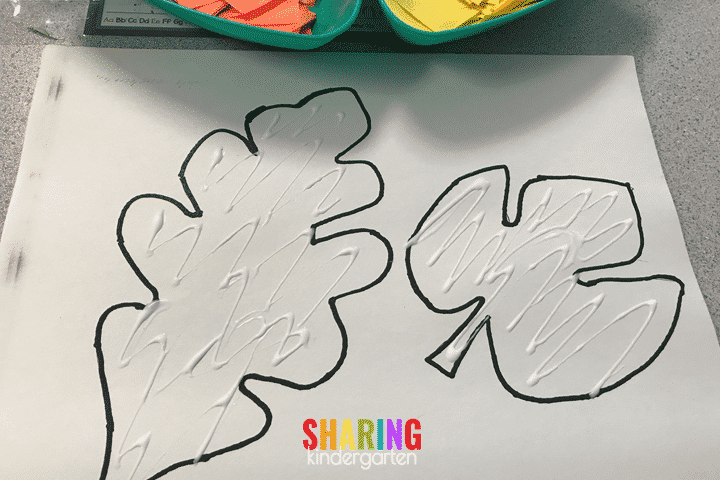
- Leave an outline on white construction paper with thick lines.
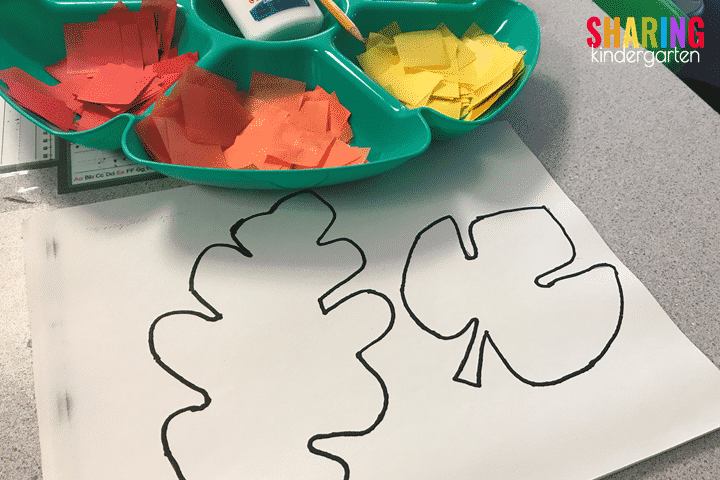
Craft Set Up for Tissue Paper Leaves Art
Here is how to set up this art project for success.
- Place the glue bottle and pencil in the middle of the sorting pan.
- Place tissue paper squares in the sorting places. Spread them out slightly for little fingers to grab easily.
- Place leaves pages ready to grab.
-
 Leaves Math Activities$4.00
 -
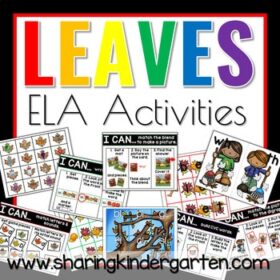 Leaves ELA Activities$4.00
 -
How to Complete Tissue Paper Leaves Art
- First, ask students to write their names on the BACK of each leaf. I tell them we will cut the leaves out later, so I want their names on the back for that. I also remind them that THEY will not be cutting and there are no scissors on the table.
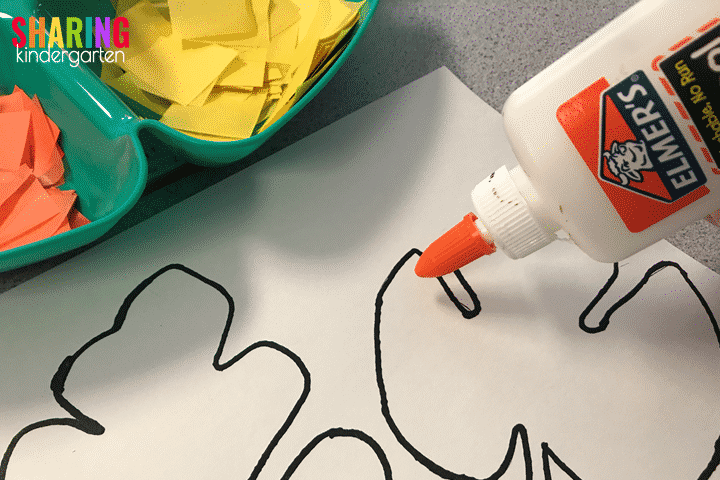
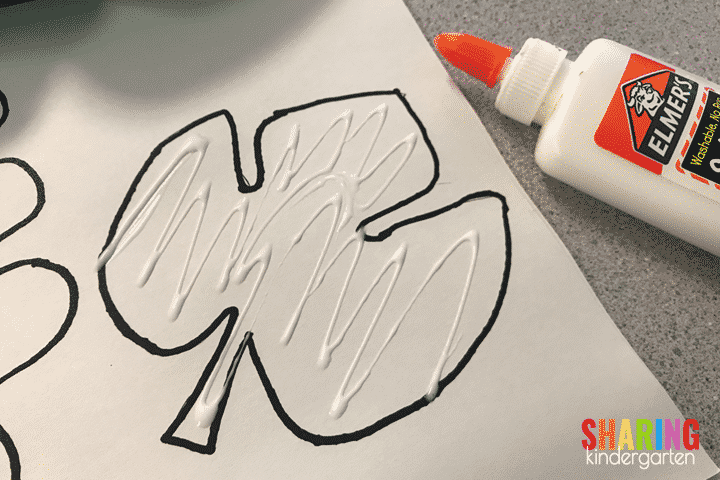
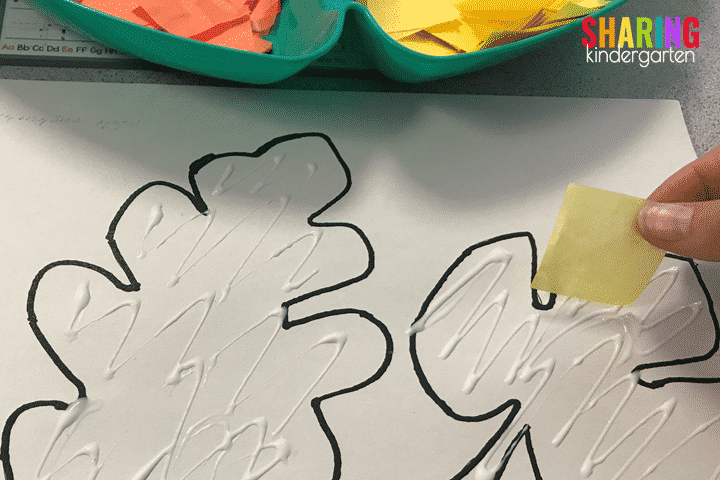
- Show students how to spread the glue out on the leaves. You want the glue to be all over the inside of the leaves, but not dripping. Dripping glue will be too messy for tissue paper. I show my students this step and they really do a great job doing it independently.
3. Next, students repeat the gluing process on the other leaf.
4. Now, students place tissue paper squares on their leaves in any color pattern or design they desire.
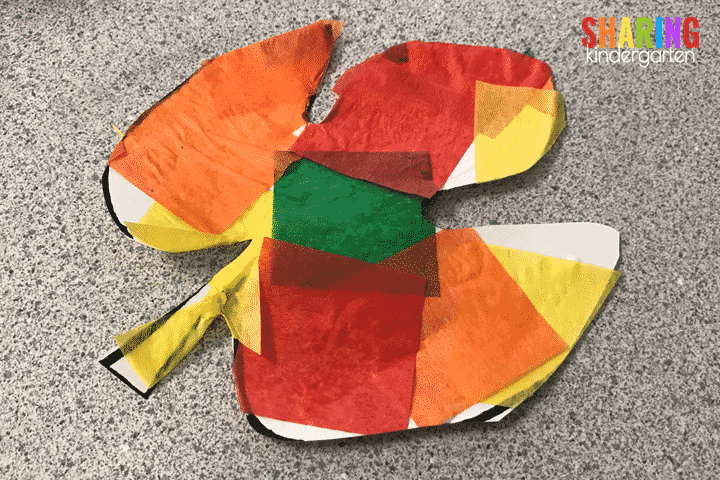
5. Lastly, once the leaves are dry, we cut out the leaves on that thick black line.
Tissue Paper Art Project Results
Once I gave my students the directions and set up the supplies as shown, my students created their leaves independently. They did not need extra help from me at all. One BIG help is the lack of scissors at their table. You can see my classroom door decorated with these beautiful fall leaves.

These leaves are a great writing prompt to stretch sentences and add describing words. Additionally, they are excellent fine motor skill practice.
Literacy Connections
You can connect this tissue paper art project to literacy with these books.
–Leaves: Colorful and Crunchy
–Why Do Leaves Change Colors?
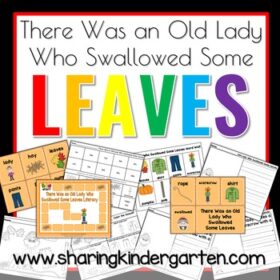
–There Was an Old Lady Who Swallowed Some Leaves
–Red Leaf, Yellow Leaf
–Look What I Did With a Leaf
-
-
 Product on saleThere Was an Old Lady Who Swallowed… BundleOriginal price was: $107.00.$96.22Current price is: $96.22.
 -
Need Some More Leaf Ideas?
There Was an Old Lady Who Swallowed Some Leaves

Fall-static! The chip/dip tray certainly helps keep the small pieces of tissue paper somewhat contained and also helps multiple students to be able to access them easily!