Learning how to make ice cream in a bag is an exciting science experiment that lets students create delicious homemade ice cream while exploring key scientific concepts. This hands-on activity uses simple ingredients and doesn’t require a fancy ice cream maker, making it perfect for a school setting. Let’s explore the easiest recipe for a classroom full of fun and learning by making ice cream in a bag recipe! You can use this learn how to make ice cream at home or even in the classroom.
Why This Ice Cream Recipe Is Perfect for the Classroom
This fun activity is more than just a tasty treat—it’s an educational experience to learn how to make ice cream in a bag and how to make ice cream without an ice cream machine. Through this activity, students will:
- Learn how rock salt lowers the freezing point of the ice and helps create creamier ice cream.
- Practice math by measuring ice cream ingredients like heavy cream and vanilla extract.
- Collaborate and take turns shaking the bags to make their own homemade ice cream.
- If you need help with discussing states of matter with little learners, you can check out this product here on TPT, here on SK Online.
Items You Will Need to make ice cream in a bag
For Each Student:
- 1 small bag (quart-size or pint-size bag) for the milk mixture
- 1/2 cup heavy cream or whole milk
- 1 tablespoon sugar
- 1/2 teaspoon vanilla extract (This make a big difference in the taste.)
- Optional: toppings like chocolate syrup, chocolate chips, or fresh fruit
For Each Group:
- 1 large bag (gallon-size or large ziplock bag) for the ice
- 4 cups of ice cubes
- 1/3 cup rock salt, kosher salt, or table salt

Extras:
- Hand towel, oven mitts, or wear gloves for handling cold bags. ( We used a hand towel and it worked very well.
- Bowls and spoons for serving
- Optional: double bag the smaller bag to prevent leaks or to help with the salt/ice mixture from getting inside the middle bag.
Step-by-Step Instructions for How to Make Ice cream in a Bag
First Step: Prepare the Ice Cream Base
In a small bag, combine:
- 1/2 cup of heavy cream or whipping cream
- 1 tablespoon sugar
- 1/2 teaspoon vanilla extract
Seal the bag tightly, making sure there’s not much air inside.
Second Step: Set Up the Ice Bag
In a large bag or gallon bag, place:
- 4 cups of ice cubes
- 1/3 cup of your chosen kind of salt (rock salt, ice cream salt, or table salt)
Mix slightly to distribute the salt.
Third Step: Combine and Shake
Place the small bag into the larger bag of ice. Seal the outer bag tightly.
Let students take turns shaking the bag for 7-10 minutes. This is where heat transfer happens as the ice melts and freezes the ice cream mixture.
This worked very fast when we take turns. You can literally SEE and FEEL the ice cream change states of matter.

Fourth Step: Enjoy Your Creation
Once the mixture has solidified, carefully remove the small bag, rinse it to remove any salt, and enjoy your plain vanilla ice cream or add your favorite toppings like sprinkles or syrup!
I think that rinsing the salt mixture from the bag is a BIG deal.

Classroom Tips and Tricks
- Stations for Organization:
Create ingredient stations with pre-measured supplies. This minimizes mess and allows students to work independently or in small groups. - Double Bag for Success:
Double-bagging the smaller bag prevents leaks and keeps saltwater out of the ice cream. - Manage the Cold:
Provide hand towels, oven mitts, or encourage students to wear gloves while shaking the bags. - Incorporate Science:
Discuss the science behind the activity. Why does salt lower the temperature of the ice? What happens when the ice melts? - Promote Teamwork:
Pair students and let them take turns shaking the bag. This ensures everyone participates and keeps their energy up! - Focus on Clean-Up:
Lay down tablecloths or trays under each station to catch spills. This makes tidying up a breeze. - Customize the Recipe:
Offer options for mint extract, vanilla bean, or fresh fruit so students can create their favorite flavors.
Why Students Love It
This activity is one of their favorite pastimes. It’s engaging, educational, and ends with a sweet reward. Whether it’s a hot summer day or a science lesson, making easy homemade ice cream in the classroom is always a hit.
Give this activity a try, and watch your students learn and laugh as they shake their way to delicious homemade ice cream! Let me know how it works out in your classroom!
Recommended products
-

States of Matter | Water Cycle | States of Water | All about Water
$5.00 -
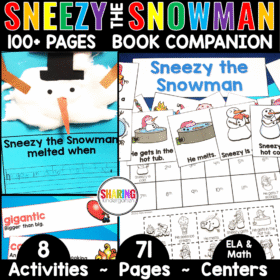
Sneezy the Snowman Printables and Activities
Original price was: $5.00.$4.00Current price is: $4.00. -
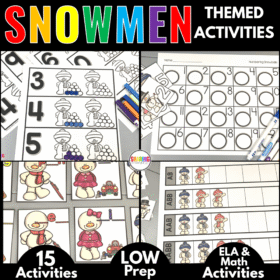
Snowmen Activities
$5.00 -
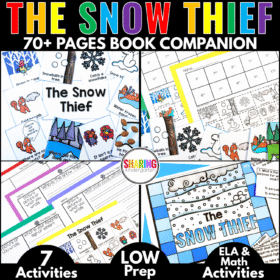
The Snow Thief Book Companion Activities Printables Sub Plans Read Aloud
Original price was: $4.00.$3.00Current price is: $3.00.