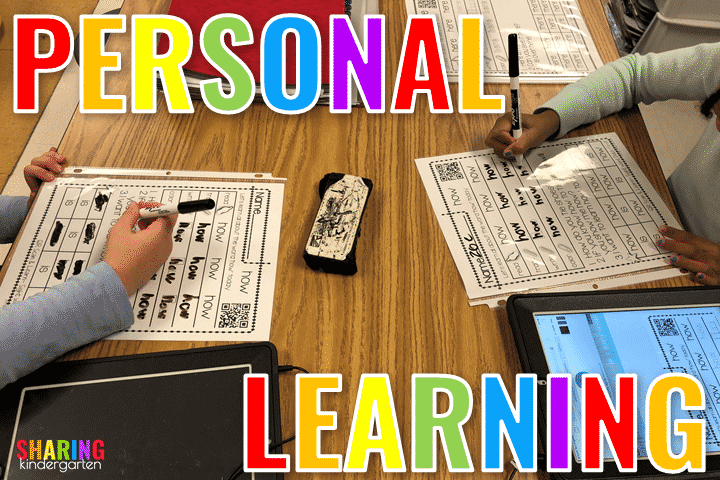
How to Make and Use a Star Chart: Let me show you how to make and use a star chart in your classroom. I need to start by saying I didn’t invent the idea, but I saw this in a neighboring classroom and decided to make it my own. This was created 13 full school years ago and it works just as awesome today as it did the first year. Here is how to make a star chart and how to use one in your classroom.
Step 1: What you will Need How to Make and Use a Star Chart
-1 large poster board
– Large yardstick
– Permanent marker to write on poster board (black or silver)
– star student sign
– a way to hang up names, like a tack.
– Velcro, lots and lots (like these from Amazon, make it the same color as your poster board.) The circle shape worked best for me.
– stars

Step 2: Make Your Poster
Start with the poster board. I did not use a foam board because I desired to laminate it. I recommend starting with the vertical lines. Starting on the RIGHT side, take the yardstick and make sure you keep it flush again the side. Use the sharpie to create a line. (If you are not confident in your lines, draw a line with a pencil first.) I made sure to leave a larger place on the right for student names.
Next, start from the top and use the yardstick to form horizontal lines. This will create boxes that are about a square inch, depending on your yardstick.
I used a black poster board so I used a silver Sharpie to ensure the graph lines showed up clearly. If you use a white poster board you can use a black or colored Sharpie. If you desire to laminate your poster, do it now.
Step 3: Apply Velcro
Now let’s get to the next step in How to Make and Use a Star Chart. You need to get the Velcro to match your poster board. Since I went with a black poster, I purchased black Velcro. If you get a white poster board, I suggest white Velcro. You want your Velcro to fit in each square nicely so don’t order too big of a size.
Put the rough side of the Velcro on the poster board in each square. 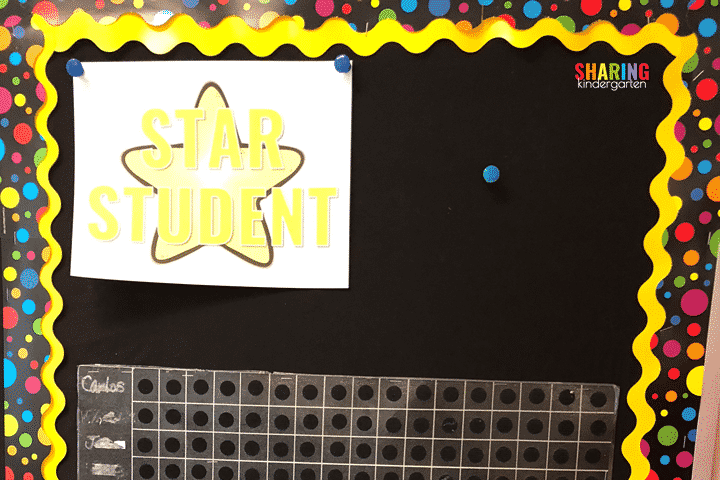
Step 4: Prep names to go by the sign
Create a sign that says, star student. You can grab my sign here for free if you desire. Since I am using a bulletin board, I placed it on the board with push tacks.
Can you see the blue push tack? That is where I place my star student’s name. To save time throughout the year, I take my class list and insert it into a Word document. I make the text large so each student’s name shows on one page, then I print out all their names on their own paper at one time. I leave all their names on that tack, showing only the star students’ names on top. This saves me time when I change the start student out the next week.
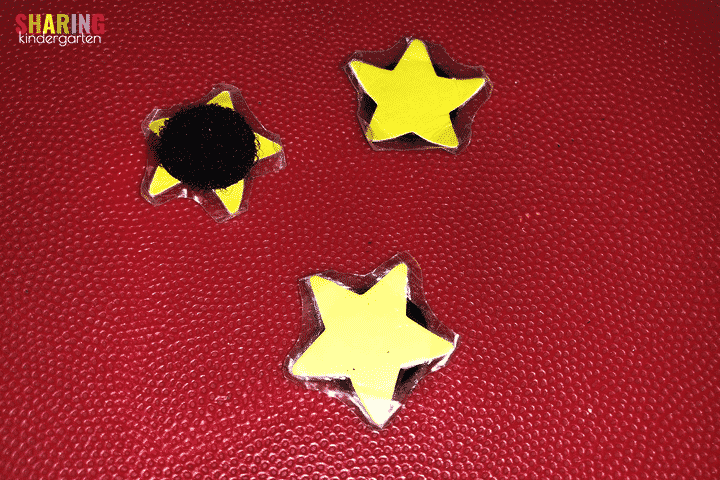
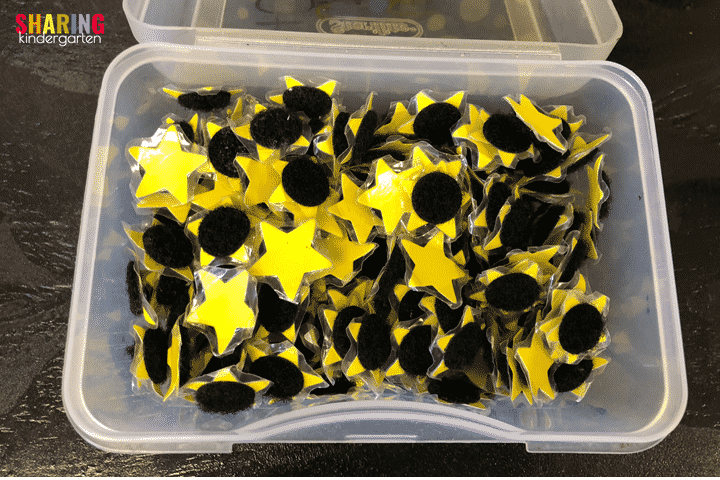
Step 5: Prep and Store the Stars
Now you need to prep your stars. The specific stars I used have been discounted years ago. You can get a star paper punch and make your own or buy premade stars. I did find these stars that may work for your star chart. I did create some 1″ stars in the freebie download you can use. (Freebie download here.)
I did take the extra set to laminate all my starts, then cut them out. It took a while but since I have never had to make this again, it is worth it.
Place the soft side of the Velcro on this side. (See why I needed a smaller piece of Velcro than 1-inch pieces? Place them in a bin that students can easily get to.
Step 6: Add Student Names to the side
The first year I made this, I added student names with a silver Sharpie after I laminated the chart. I thought that those names could be removed like I remove typical Sharpie from laminated materials. you can see how this didn’t happen. Don’t do this.
Instead, use a label marker or small sticker to apply names to the chart. I redo this year after year. Since I use a label maker, the names come off pretty well year after year.
Step 7: How to Use a Star Chart for Behavior
I show each student where their name is on the chart. We also establish what earns you a star and does not together. One rule I have is that you can’t ask for a star for yourself. I promote the idea of allowing students to give stars to others if it follows are set rules. Make this a community-building activity.
When students earn a star, they place it next to their name on the graph going across. Whoever has the most stars at the end of the week is that star student, role model, line leader, etc. for the next week. I keep a secret class list behind the list of names and I ensure that EACH student can be a star student at least once. This isn’t about singling them out but promoting the behavior we want to see in all students.
This also means each week, we clear off the stars and start all over again.
Hope this idea is helpful for you and your classroom on How to Make and Use a Star Chart! It has been a joy overall for 18 years and something I am glad I spent the time to make well the first time.
Looking for more ideas? Try here!