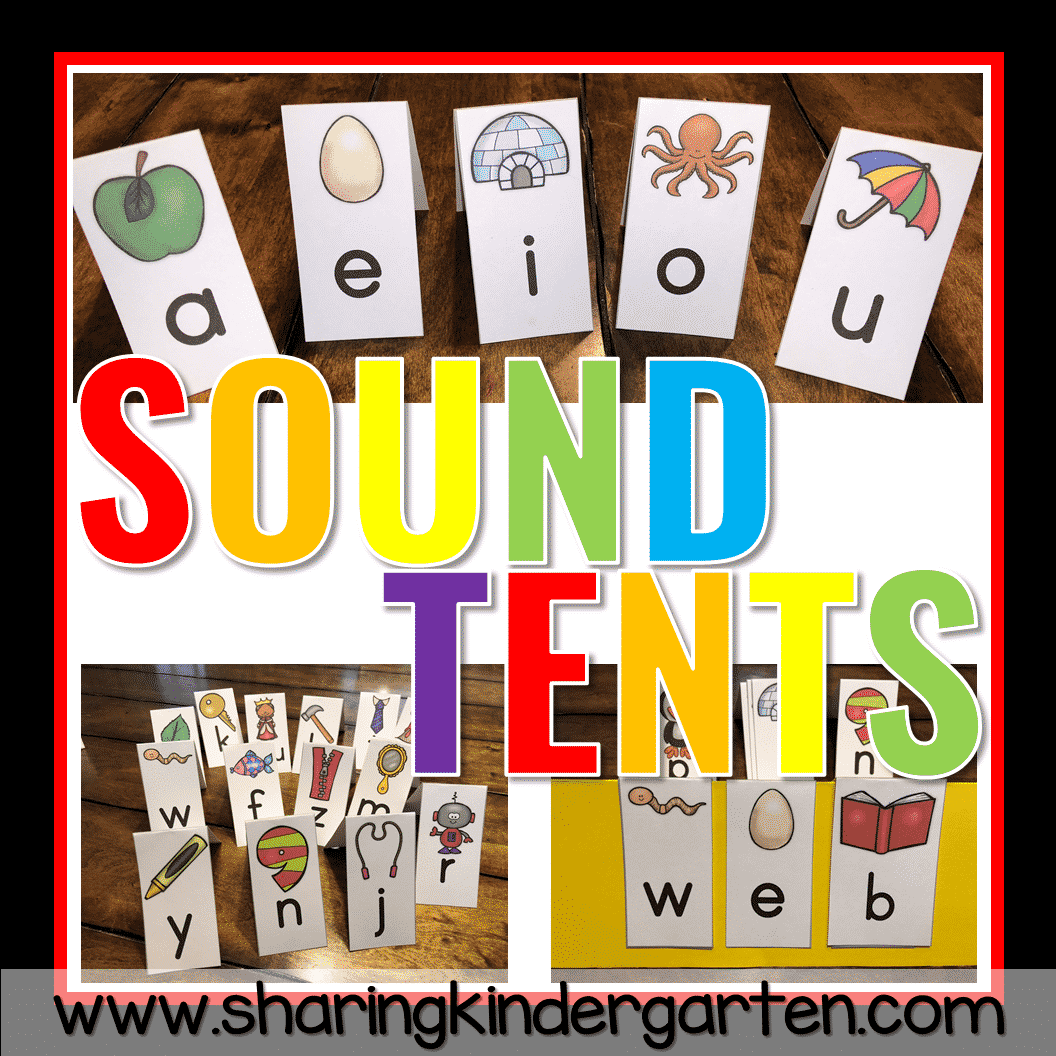
Have you seen sound tents? This is a fun way for little hands to work with sounds to build real and nonsense words. Simple, fun, hands-on phonics fun! Let me show you what these fun phonics activities look like and how you can use them in your classroom with ease.
How to Prep Sound Tents
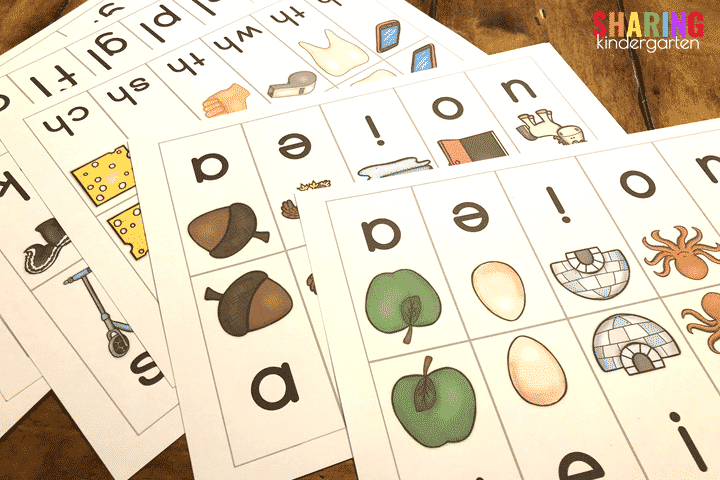
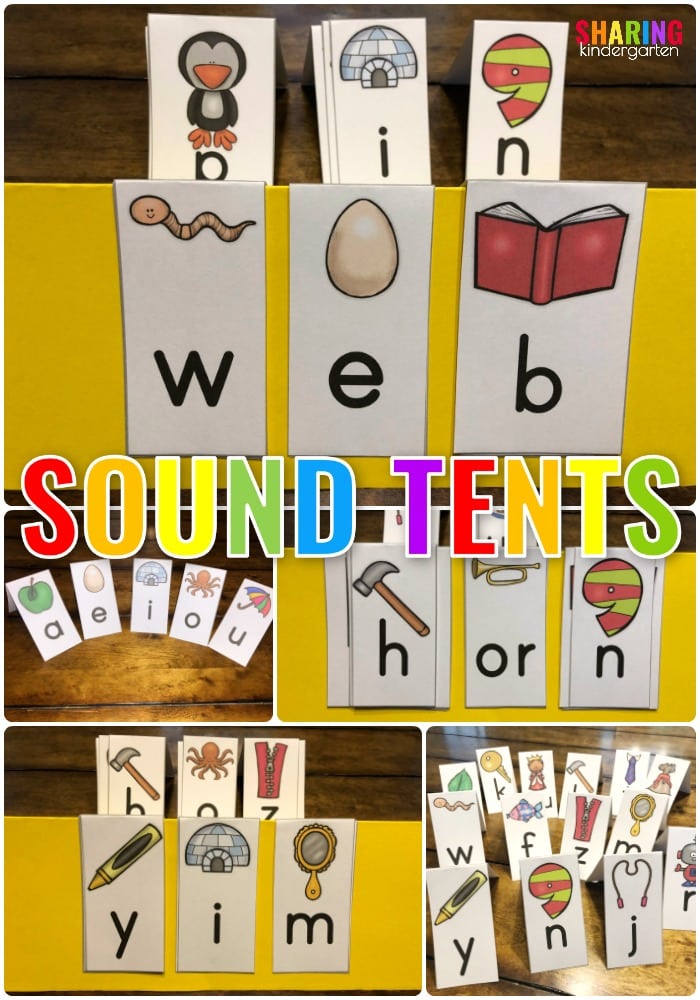
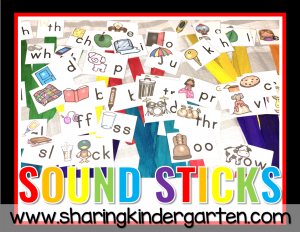
First, print out the sounds you want to cover in your classroom. You can see the full-color pages above. There is also a black-and-white version so you can print onto colored copy paper for fun as well. Most students will need one sheet to get around 5 sound tents. You easily just print the ones you are using at the moment and not all the sounds at one time.

After printing, just cut the pieces into strips and fold them in half. You can see this is one page and has enough sound tents for one student.
How to Introduce Sound Tents
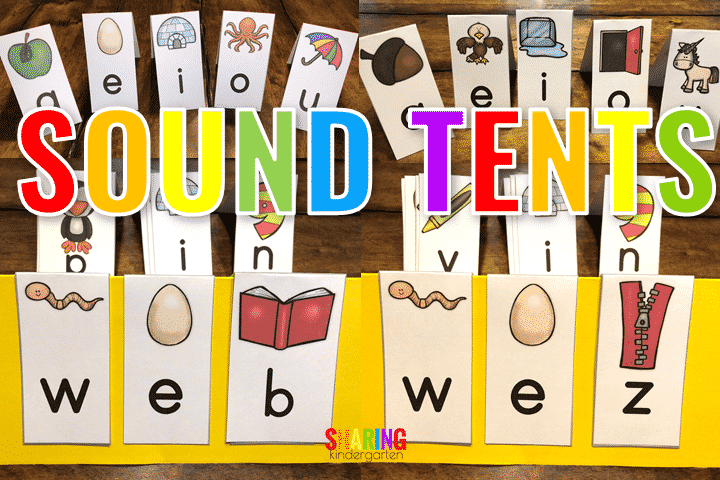
Next, place them on a table. You can use these to review sounds by themselves. Start by going over the sounds they make. Then, you can give your students words. You can also give your students a word to have them identify which sound is inside that word. To signal the right answer, students can simply pull that sound tent forward. I usually do to allow stacking sound tents here because many times they start and do not want to stop!
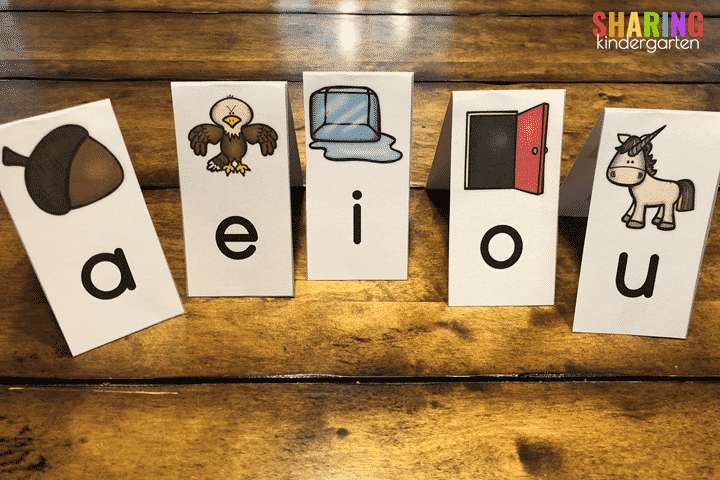
The vowel tents are used the most in my classroom. You will get one version with all short vowels, one version with all long vowels, and then a third version with the long sound on one side and the short vowel sound on the other. This allows students to flip the sound from long to short and from short to long. When you give students a long vowel word, you are looking for them to flip the sound tent card like they would flip the sound in their head.
When to Add More Sounds to Sound Tents
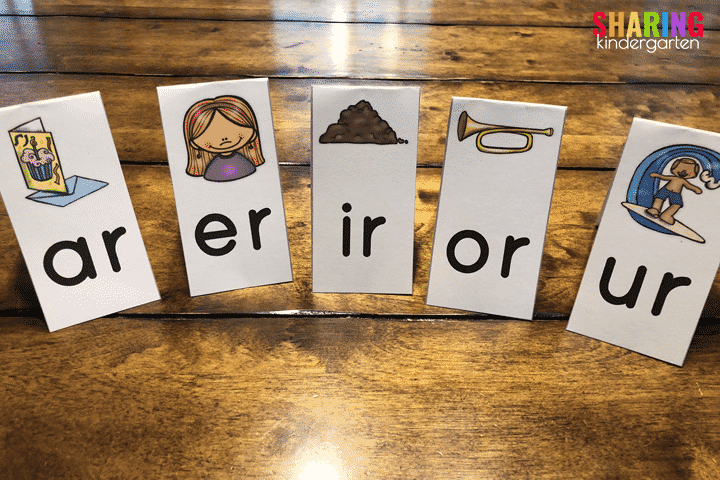
When you teach a different new sound, you can teach just using those sound tents. These are the bossy r sounds for us to go over and learn. We talk about all 5 sounds at the start of the week, then we work on each sound on their own. For example, we start with the /ar/ sound then we move on to/or/. We use all 5 sounds and push back the er, ir, and ur tents. If we get to a word that someone thinks has the er, ir, ur sound, we have the sounds to choose from.
When you use fewer sound tents you can easily do a fast phonics review in minutes. One of the teachers on my team uses vowel tents during snack time to review long and short vowels.
Do you cover all the sounds?
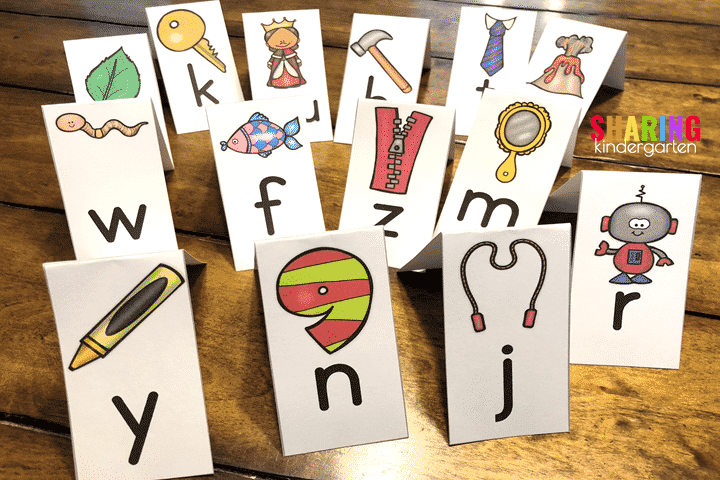
We have sound tents that cover more than 78 sounds! There is a sound tent for every letter of the alphabet and most phonics skills you can cover in kindergarten and first grade. (You will see how this overlaps with blending boards below.) This simply allows you to teach to all your students’ needs easily.
Letters With More Than One Sound
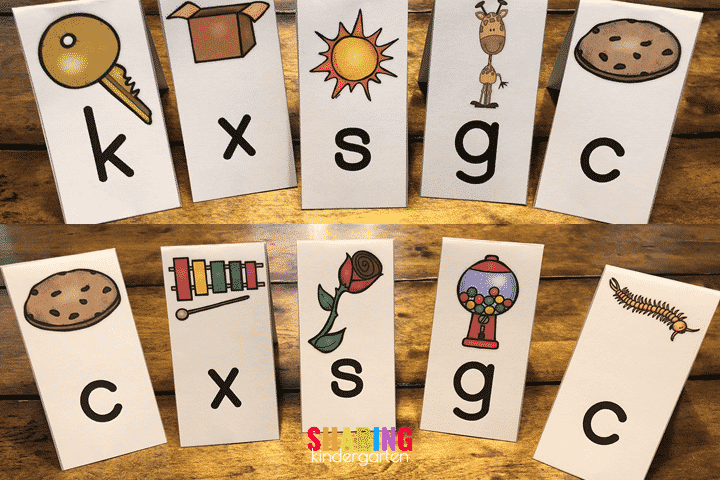
Some of the letters we cover can be tricky. Although I may not cover that sound directly when we teach the sound, we want to be able to use the alternative sound as needed. Let me give you an example. We talk about c as in cookie often what about c as in centipede? Not so often. These sound tents have one version with the same sound on both sides and another version with these two different sounds on different sides.
-
 Phonics Printables$3.00
 -
 Product on saleLetter BIG BundleOriginal price was: $130.00.$100.00Current price is: $100.00.
 -
 Product on sale20 Questions Games with LettersOriginal price was: $15.00.$12.50Current price is: $12.50.
Individual Blending Boards for Sound Tents
We use a group blending board every day to practice building and sounding out words, then determining if these words are real or made up. I love this teaching tool but I really wanted something my students could use to blend words on their own. My idea was to have them blend in small groups and even as a take-home tool! Here is my individual blending board solution.
First, use a good piece of card stock and fold it the long way. Regular copy paper is too thin. I did not try construction paper, but perhaps if it is laminated it may work. Let’s refer to this piece as the blending tent.
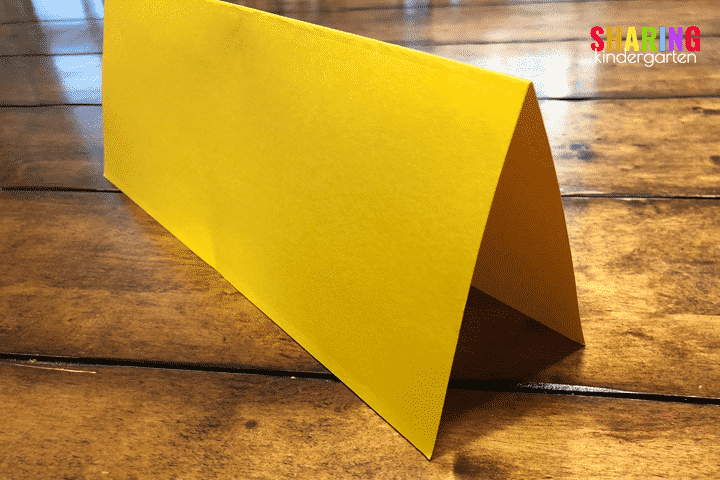
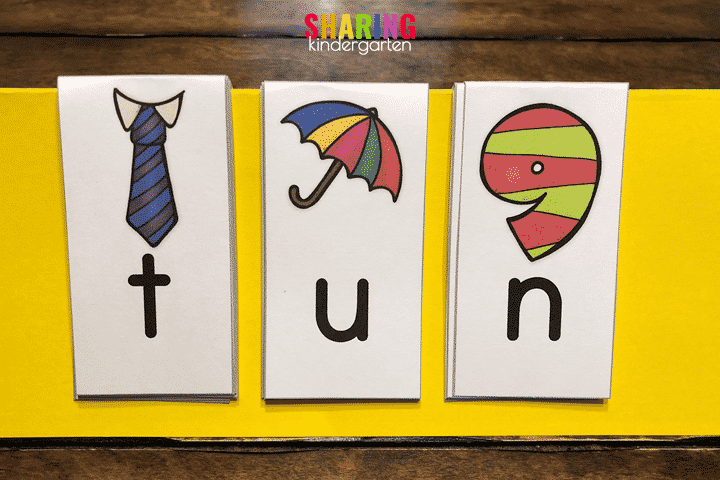
Next, print out and cut out the sound tent pieces you need. They can be placed on the blending tent as shown below. (This is why regular copy paper won’t work for the blending tent. It has to be strong enough to hold up the sounds.)
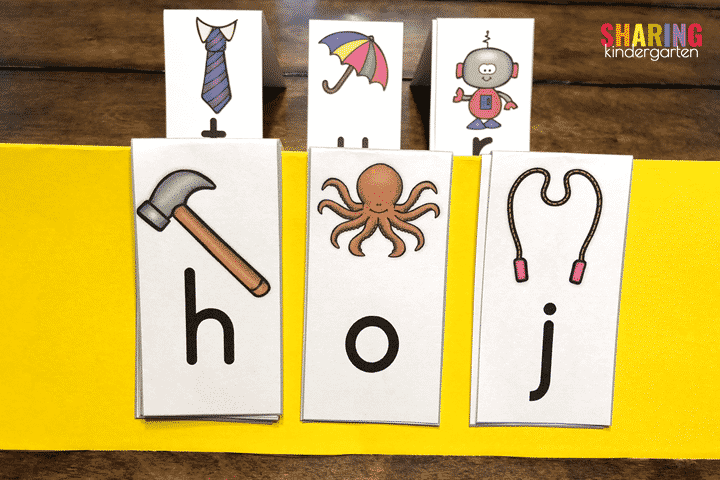
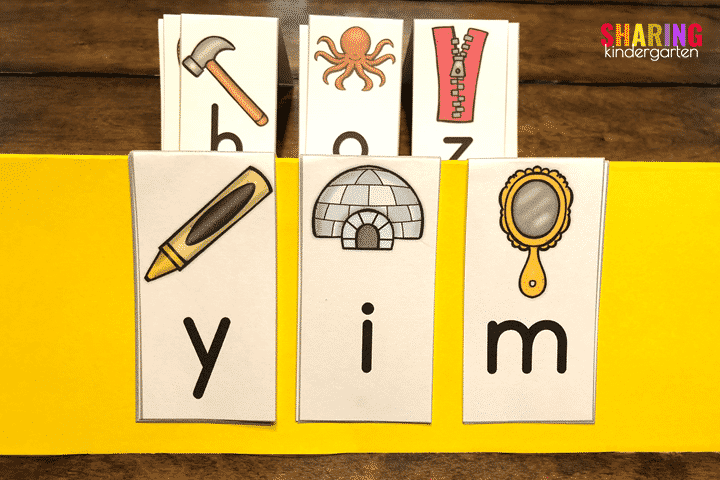
Then, take the pieces on and off the blending tent to make new words. You can see I have the pieces layered ON the tent as well as additional pieces behind the tent.
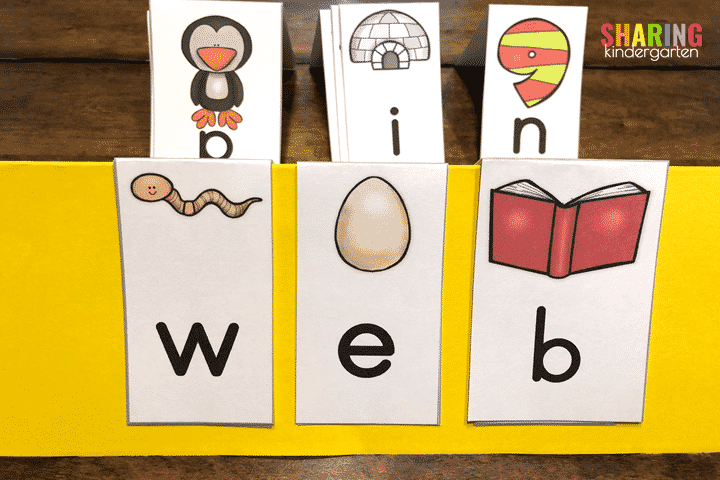
Finally, when students have the letters on their tent to make words, we talk about if the word is real or silly. If it is real we use it in a sentence.

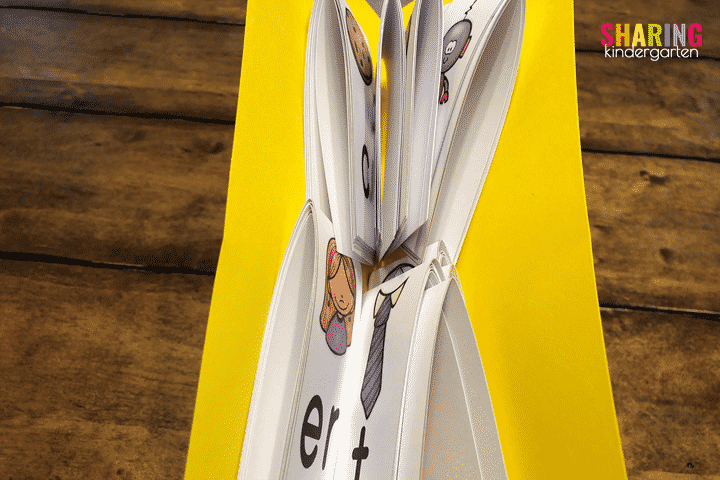
More pictures of the blending tent and sound tents to make individual blending boards.
How to Store and Manage
One way you can store your sound tents and blending tent is by placing them inside themselves. I like to stack like sounds together, in the same order that I organized the pages such as vowels together and then bossy r sounds together. (If you use the black and white copy, you can color code the sound tents in the way you want them stacked for storage as well.)
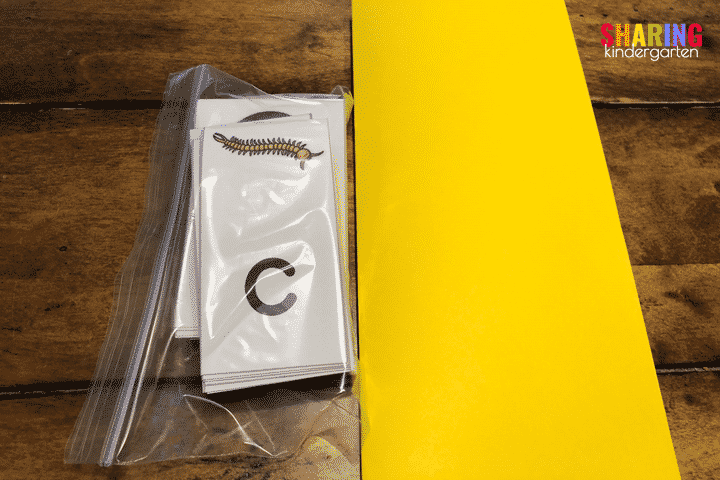
Another way I suggest trying your sound tents is in snack-size baggies. You can see they fit perfectly and can’t wiggle loose out of their stacks in this size baggie. You can store them close to the sound tents as well. This is my preferred method because the materials because they store nicely in a filing cabinet without getting bent.
Finally, I suggest using different color blending tents for each person in a small group. 🙂
I think we all know that I love all the colors.
How Can You Get Sound Tents?
You can grab sound tents here.
I made sure to price them low enough so that they are more than worth the time it would take you to make these yourself. 🙂 Click here for the Sound Tents.
And I purposely make all sound tents and sound sticks to match.
This is a tool to add variety to your phonics teaching so your students have a blast learning and using letters.
You can read all about sound sticks here and purchase them here.