

Classroom Setup Ideas: I am back at work and working HARD to get my room ready. Isn’t it funny how hard we work to prepare our rooms for new students? I mean, we just took care of how many students last year, and yet we have this need to make the room better, cleaner, more organized… and we spend our own money. Let’s break down some basic classroom setup ideas you can use.
Classroom Setup Ideas
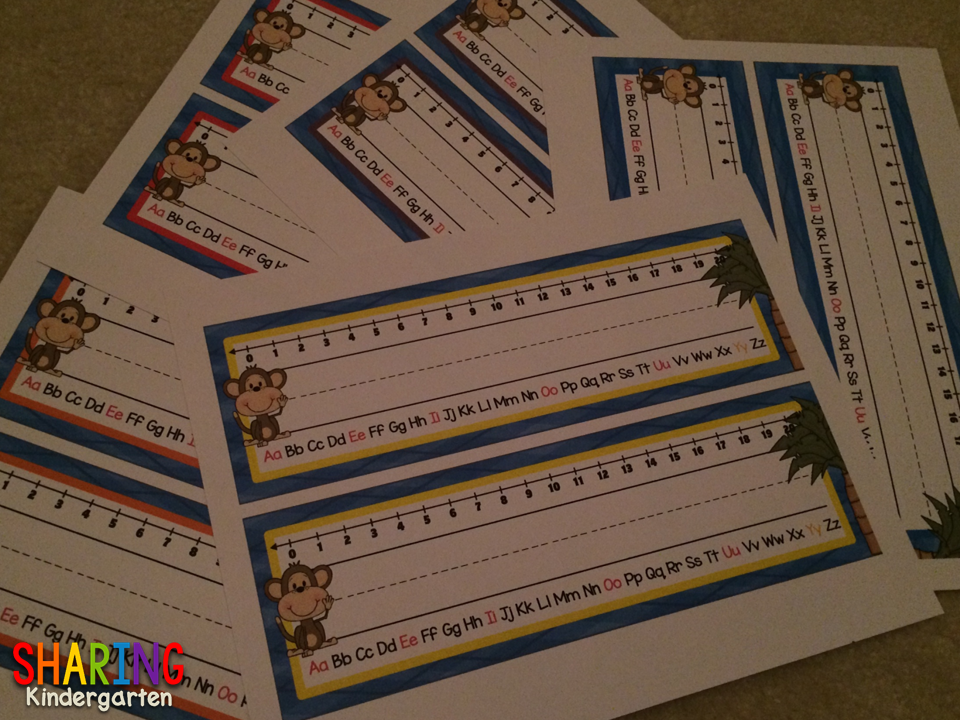
One thing I like to have printed and ready to do is nameplates. Since I use tables instead of desks, I need nameplates that can have names changed as needed. Therefore, I print out nameplates, laminate them, cut them out, then tape them down to a table with clear packing tape. Now I can write names ON TOP of the tape and use cleaning wipes to remove names and change them.
School Rules: Classroom Setup Ideas

Then I printed Maria’s Subway Classroom Rules. Then I covered a high window with blue paper and added the beautiful rules posters. To make sure I hung them to showcase their perfection, I backed them with a sheet of bright copy paper and then added the poster to the front. To help center the signs and make sure they are exactly where I want them to be, I use a small piece of clear tape to “hang” the sign in position. I can move the signs around to find their perfect spot without messing up the blue background paper. Once each sign is in the best location, I use hot glue to secure them for the long term.
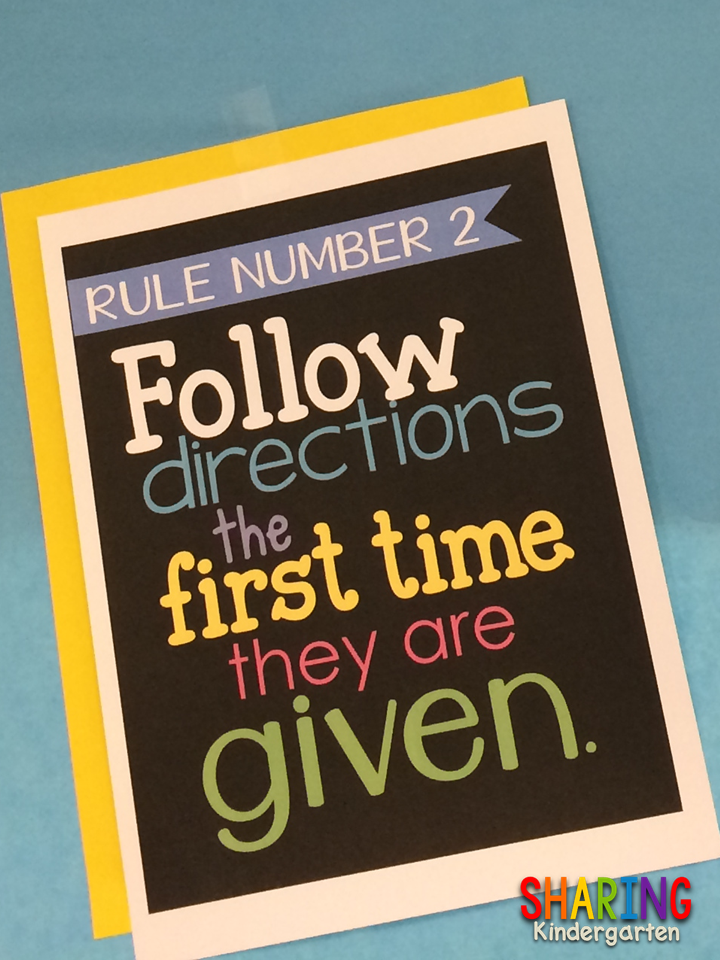
I did leave the tape on each one and you can’t see it. {Unless you are super tall and super close to them of course.} But you can always take the tape off as well. I just didn’t see the point of spending the time doing it.
Door Decoration: Classroom Setup Ideas
I am not a huge fan of door decorations or hallway decorations. But, one of the back-to-school jobs is to decorate my door. Since this classroom has a monkey theme, I made a coconut tree on the door. Honestly, I don’t love this tree. I should have not put my leaves lower on the tree and I am seriously considering redoing it. But I show you guys the cute and the ugly.}
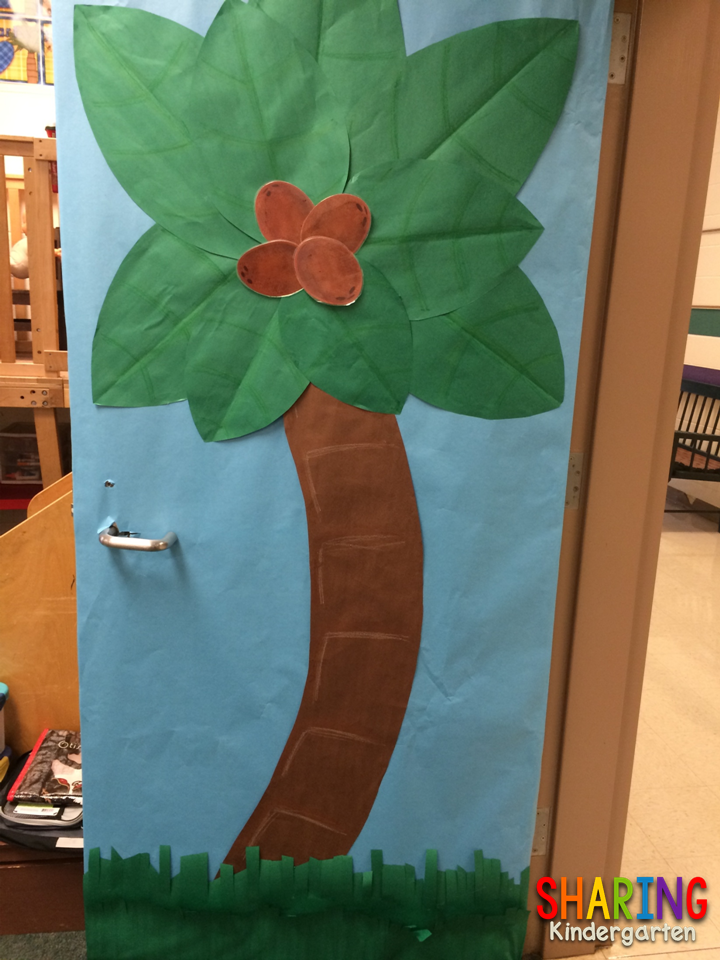
Here is how I made this door using bulletin board paper and 4 coconut accents from Trend.
- To make this door, I covered the door in blue paper. I always shut the door to make sure the paper lays flat.
- Then I cut out an arch with brown paper. I took crayons and added dark brown and white lines to show details on the trunk of the tree. Seriously, I just scribbled using crayons.

3. Then I did the same tape trick that I did for the poster to center the trunk to the door.
4. To create the palm leaves, I did the same crayon detail with the green leaves, but I used light and dark green crayons on them. To make the leaves, I always folded the paper in half to cut them out. It just helps me with the shape and symmetry.
Hallway Decorations: Classroom Setup Ideas
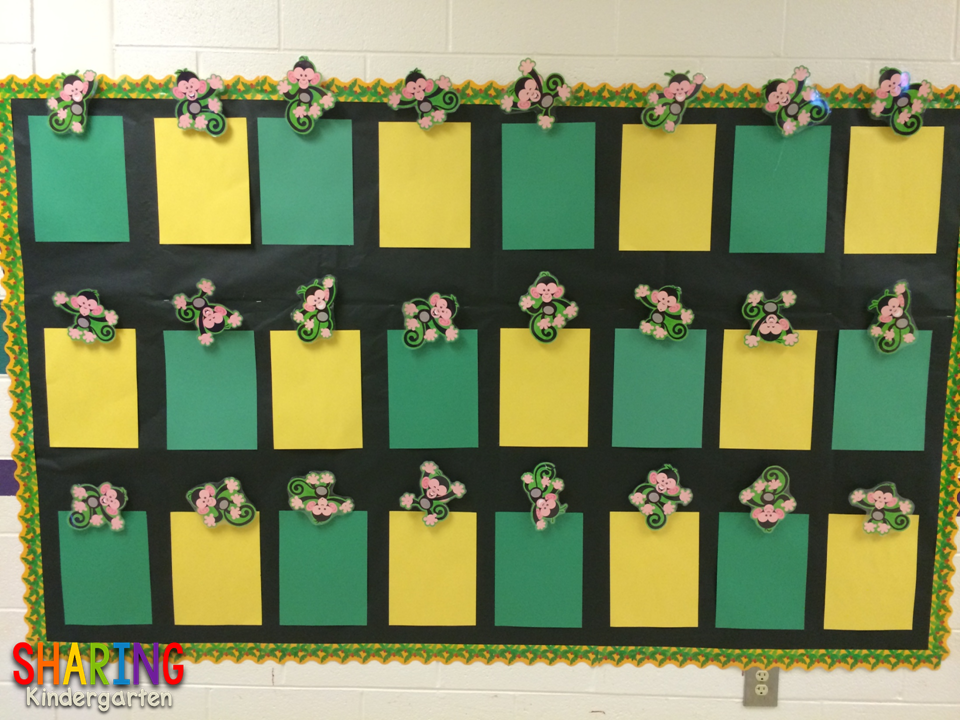
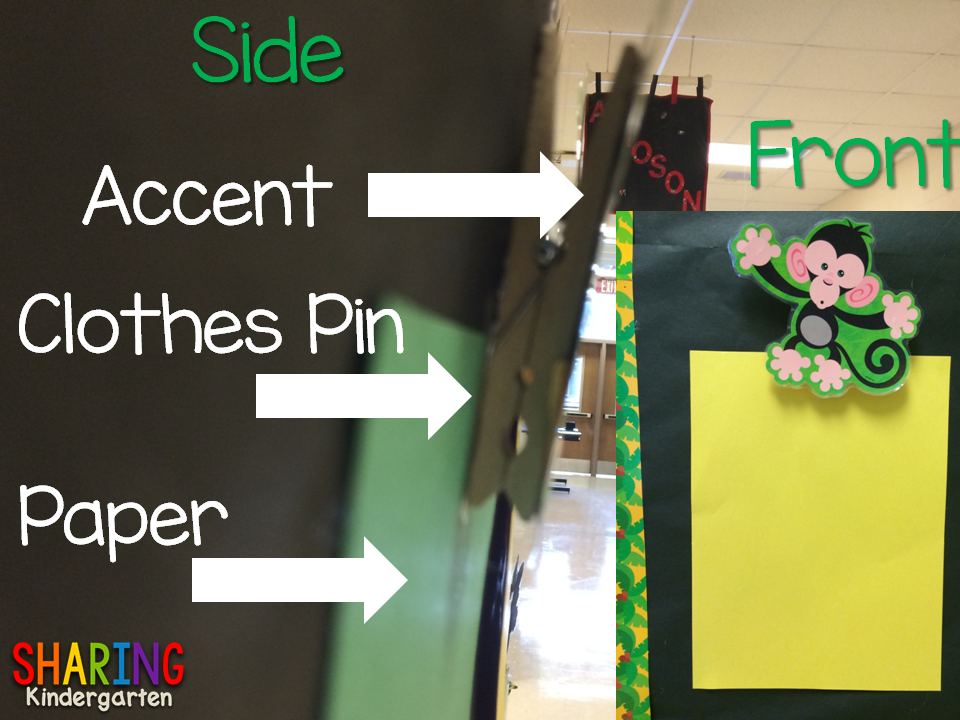
I also got to complete the outside clips to display my little love’s amazing creations. I did the border facing out on purpose. It is a palm tree shape so I wanted the leaves to be facing out. And yes, they are palm trees NOT holly leaves. Each student will have their own monkey.
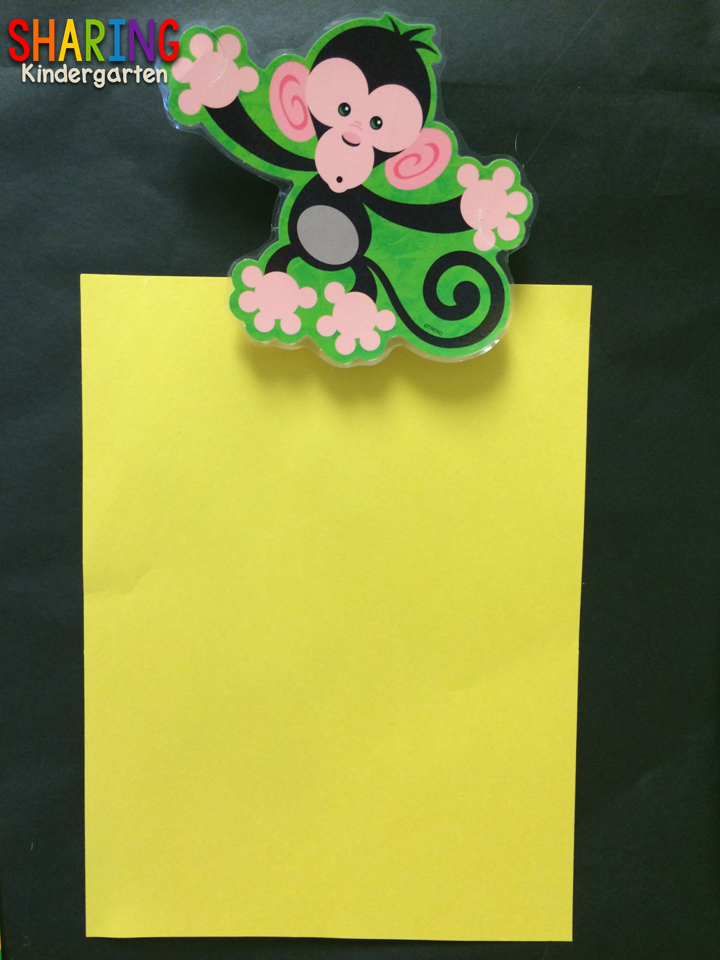
I will add a banana with their names on it when I get my students’ names. I like to tape the banana onto the TOP of the monkeys with regular tape so I can change them out easily. This is a great tip if you have a high transient school.
And behind their money is a hidden clothespin. I glue down the background paper first, then the colored paper which is green and yellow on this display. Next, I add the clothespin with hot glue. Last, I hide the clothespin with a colorful accent, in this display, it is the monkey.
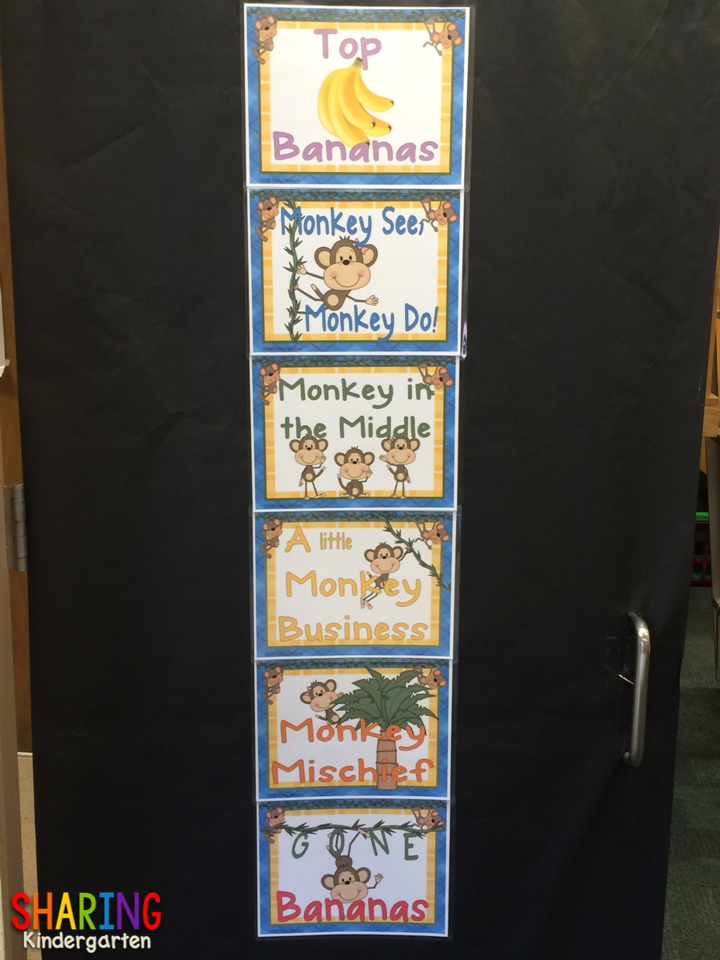
This door leads to my student bathrooms. I covered it with black paper. {Black is my favorite color.} Then I added my favorite Monkey Behavioral Charts.
This door isn’t done, but it is a work in progress. I also used Mod Podge to glue down the paper to my center clips. I did this last year and the paper stayed on FOREVER. My little wonderfuls broke the clips before the paper wore off. I will def be doing this for years to come.
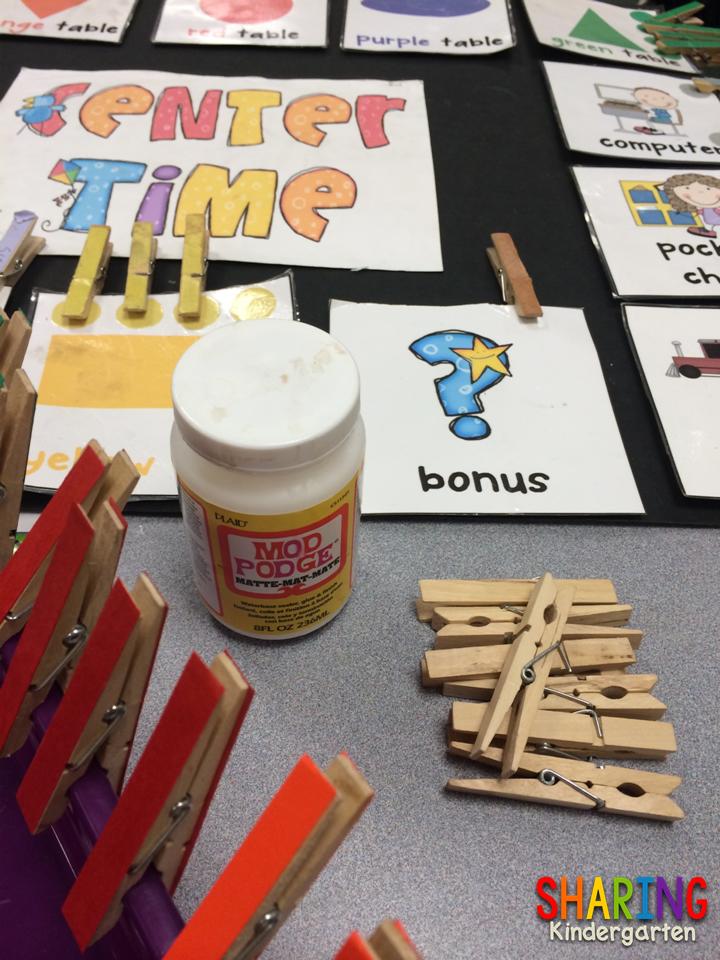
To do this, I use clothes pins, construction paper, and a mod podge. I cut strips of construction paper and glue them down with the mod podge. I let the clothespin dry on the side of a basket to avoid smudges or such. Then, I add another layer of mod podge to the top of the construction paper and let it dry as well.
Then the clips are done. {Here is the link to this center clip chart.}
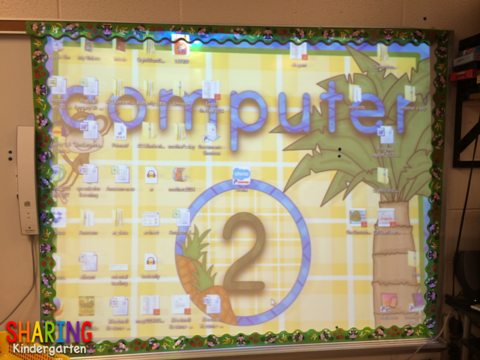
And I also did this:
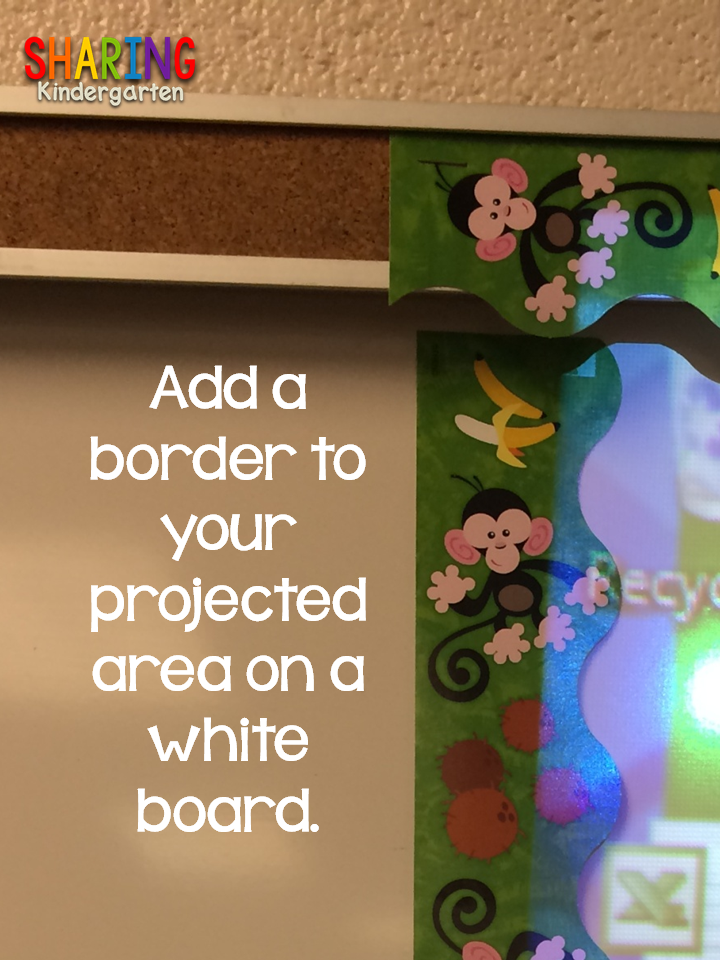
Here is what it looks like done. I kinda love it. And this gives my students and me a boundary to use or not use when we are on the whiteboard.
So much to do in so little time… will I get it all done? I hope some of these prep tips save you time and help you get your room ready for your little learners.
-
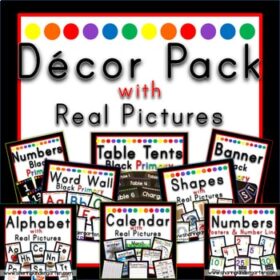 Product on saleClassroom Decor Pack Bundle Black PrimaryOriginal price was: $29.00.$14.50Current price is: $14.50.
Thank you for taking the time to share!! I can't wait to set up my room!
I think the coconut tree looks great, don't re-do it! 🙂
Me too!!!!!
Please do not re-do your tree on the door. It looks great!! I loved seeing your classroom. I have a monkey theme and haven't found many other teachers that have this theme. I loved the hallway area that you will display their work on. Thanks for sharing all of the pictures of your room!!
Ms. King's Kinders
I agree – please don't re-do the tree!! 🙂
Lovin' the monkey theme!!
❤Teri
A Cupcake for the Teacher
I also agree, the tree on the door looks fabulous. Additionally, that is an awesome take on the clip chart. I think it is great that you could work each and everyone into your theme. I am planning to do an ocean-themed classroom and am trying to figure out how to incorporate this into my clip chart…in Spanish. I shared your site with my teaching partner so she could see your student work board. I hope that we incorporate this idea on our student work board. Your room looks wonderful!
Amanda
teachingbiliteracywithmrsestevez.blogspot.com