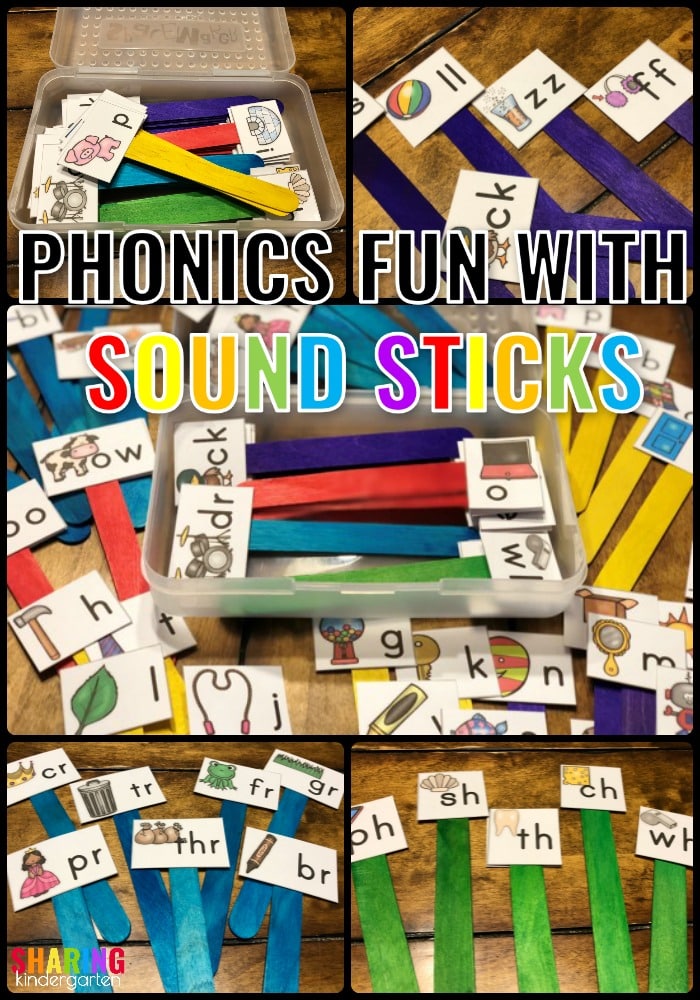
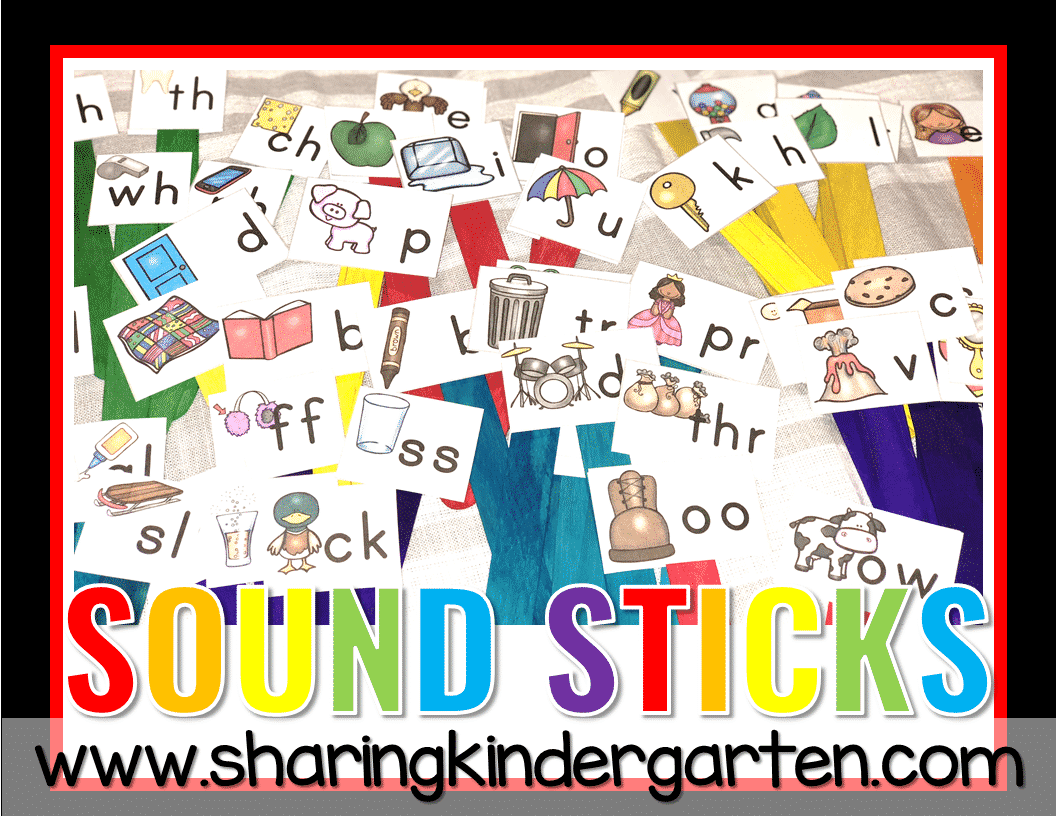
You are going to have so much phonics fun with sound sticks! This is a simple way to teach, review, and practice phonics skills with little learners. It is paperless, hands-on, engaging, and FUN. Best yet… you can use it for how you need to use it. There is no right or wrong here! If you are in a school like mine where hands-on activities are preferred over printables, I have got a treat for you! This is something you can make once and reuse year after year!
Sound Stick Prep
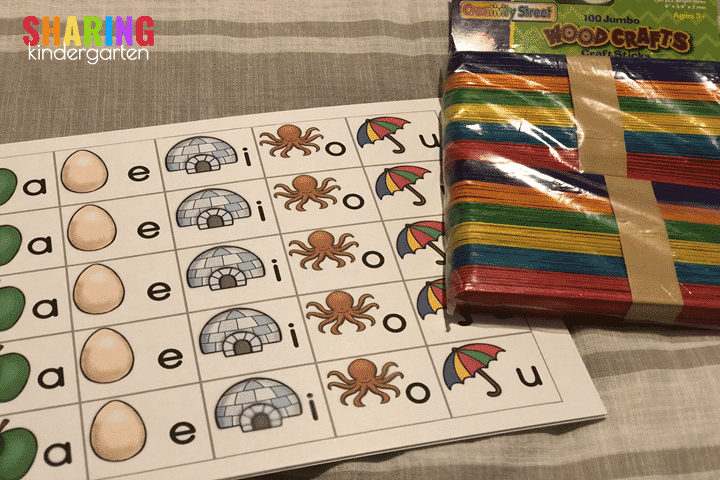
Putting together your materials is easy! All you need is the sound printables and fun craft sticks, think dollar store or Amazon. Since my printables come with 78 sounds with a color-rich version as well as a black and white version, you can truly make these your own! You can see that 5 sets of vowel pieces print out on one sheet.
All sheets have been organized into teachable stages so you don’t have to make all the sound sticks at one time, but rather at teachable segments throughout the year. Best yet, there ate 78 sounds in this one back so chances are, your phonics skills can and will be more than covered.
More Prepping Tips
If you prefer the black and white printables, you can choose to print these onto colorful paper for organization and attach them to plain sticks. The option is totally yours. I do prefer the larger popsicle sticks for these activities though.
Storing Sound Sticks
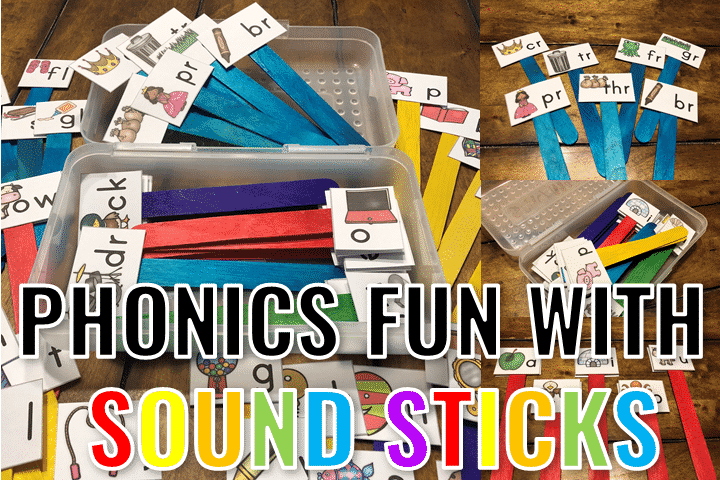
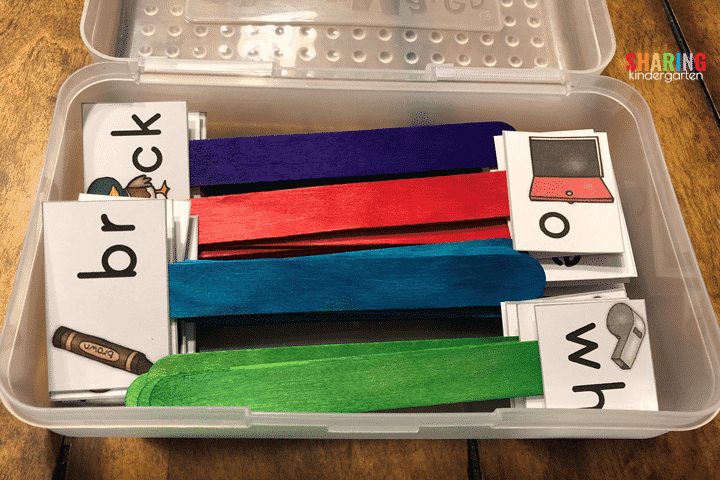
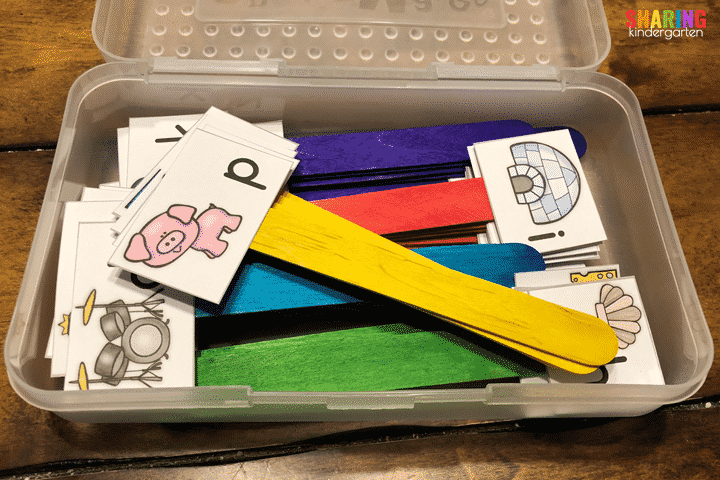
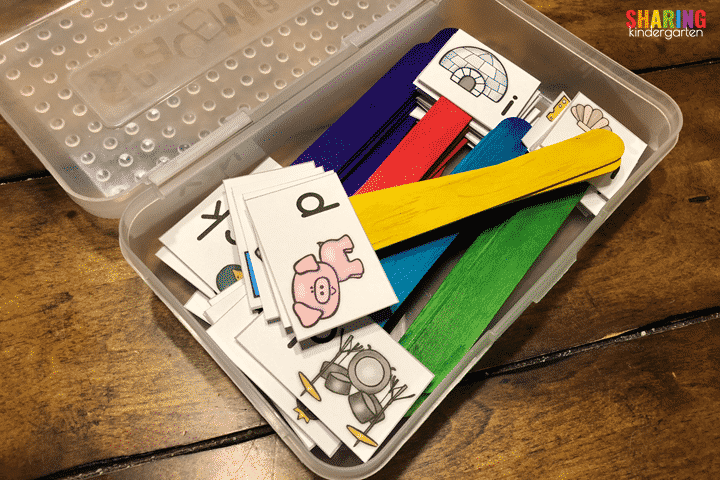
You can store these fun phonics sticks in baggies, but you can also choose to use these typical pencil cases as well. I have found that it is easy for students to grab the sound sticks we are using as long as they are color-coded.
Here is how I prefer to store my sound sticks.
- First, I place each student set in a baggie. Since we are doing the bossy r sounds this week, all those sounds are in one baggie.
- When we need the sticks, I pass them out and collect them when we are done.
- At the end of the week, students put their sticks only in their boxes. I reuse the baggies that did hold the sticks for the next sounds.
Using Sound Sticks
Next, we review sounds and play games with these sticks in small groups often as well. We pull from the boxes or use baggies. I can see teachers who use desks storing their sound sticks in pencil cases in desks. I can also see teachers who use community supplies using baggies.
-
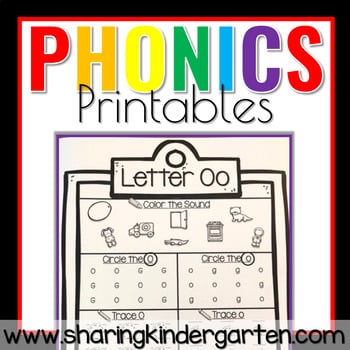
 Phonics Printables$3.00
 -
 Sound Cut & Sorts$3.00
Organizing Your Sound Sticks
The real key to phonics fun with sound sticks to think about the whole year and break your sounds into teachable parts with colors.
By the way, you can make your own system for the organization. Since I knew I wanted to use these for the whole year, I knew I needed a way to color-code them. I am going to show my strategy and my reasoning.
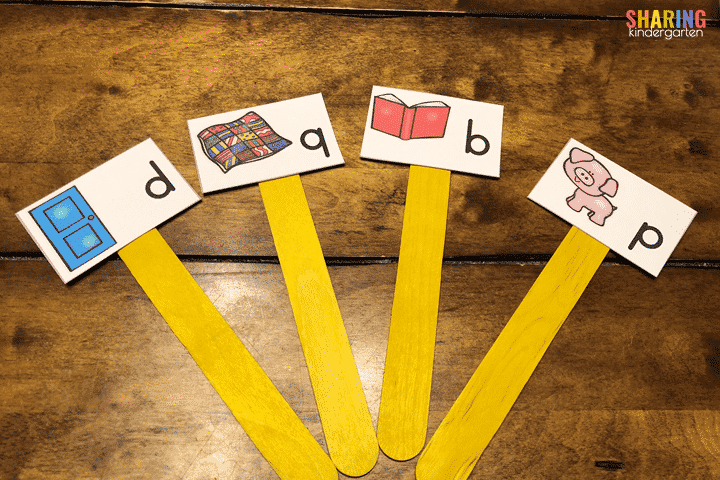
First, on yellow sticks, I chose to put those tricky letters b, d, q, and p. These are letters that we teachers work on all the time. I wanted these sticks in their own color because it is a skill we always work on and use. If they are on their own color, students can pull out their yellow pieces fast!
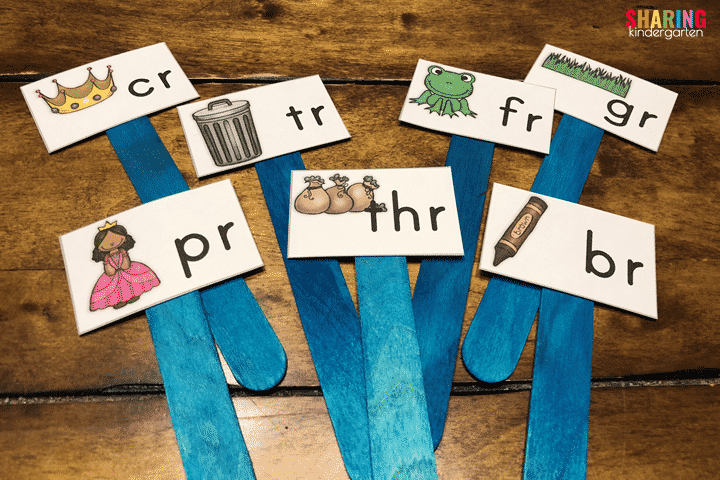
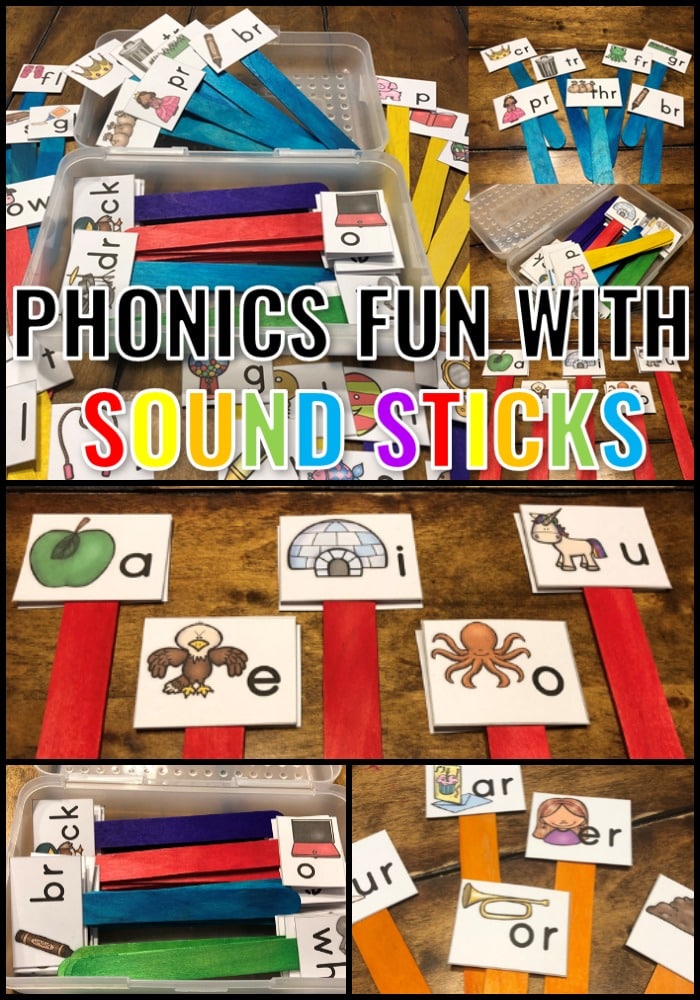
Next, I also chose to put the blends on the blue sticks. I put all the r blends on these pieces, and I can add the l blends to the other side of the same sticks as well. This just saves sticks! You can also use the same sticks for the s blends as well. Since there are so many blends, I found myself running out of blue sticks quickly!
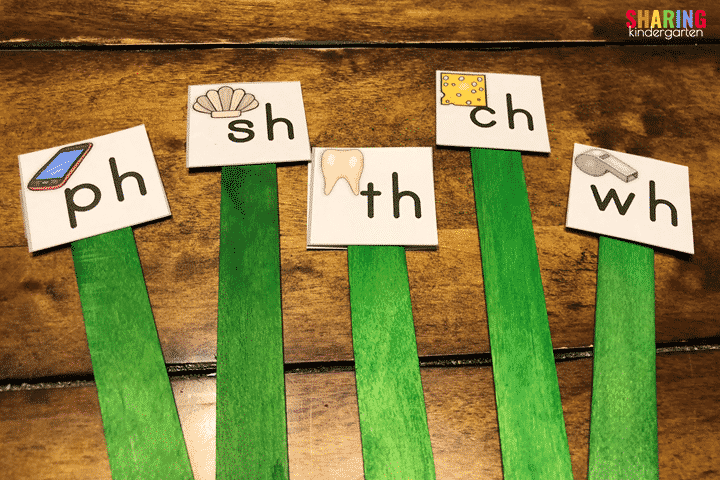
Then, we can’t forget the digraphs! Here they are! The /th/ sound is double-sided with both /th/ sounds. Their home is on the green sticks.
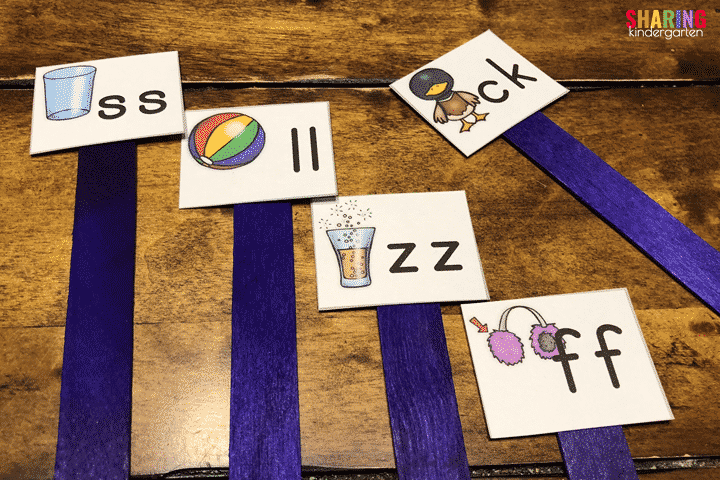
Also, we included the double consonant endings, along with the final -ck sound. These are in purple. I know -ck isn’t a double-ending sound, but in a way, it is since the c and k can both make the same sound.
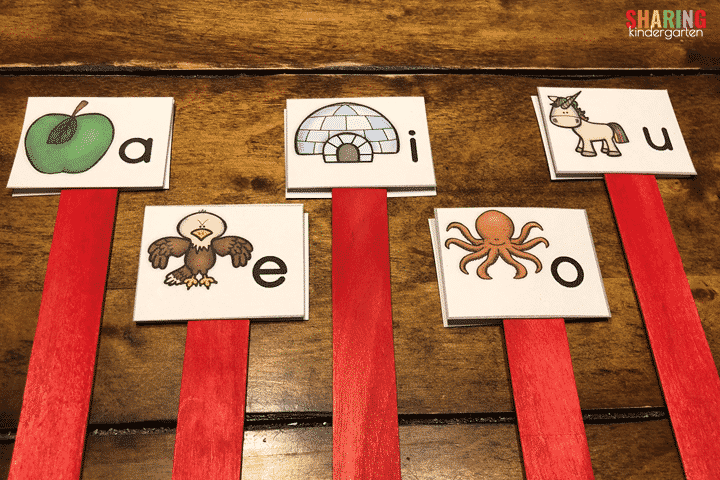
Lastly, and most importantly, those vowels! These are two-sided with the long sound on one side and the short sound on the other side. We use these sound sticks the most often. Do you love to use the term FLIPPING the sound? It is the term we use, so flipping the stick with the sound is so much fun for them.
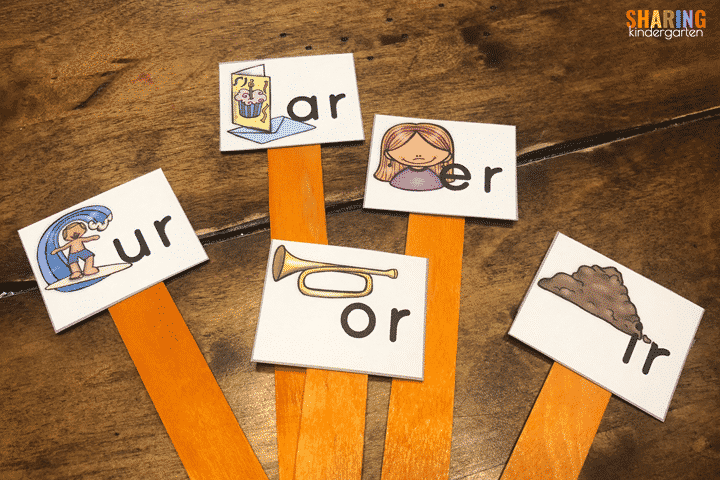
Additionally, I debated the stick color for the bossy r sounds but settled on orange. I didn’t want them to remain red since the r isn’t a vowel, so I thought orange gave them their own color for easy finding and usage.
Ready for Phonics Fun with Sound Sticks
First, don’t give your students all their sound sticks at once! NO WAY.
Instead, you will have them work with their sound sticks as you teach whatever phonics program you use. Then the sound sticks go in their box or baggie. Students can use and reuse their sticks over and over again for phonics fun.
Play with Sound Sticks With These Suggestions
- As a great alternative to worksheets, printable, or written phonics
- An introduce a letter and its sound with the stick
- Have students compare two or more sounds using the sticks
- Give students a picture and have them hold up the stick with that initial, middle, or ending sound
- Give students a word with the sound pattern missing, and have them hold up the stick with the correct sound in it
- Have students use during word work activity with the supporting pictures and letter support
- Place students back to back but both with sticks, give them a picture or a word, ask them to hold up the correct sound, then ask them to walk with their partner about why they chose their sound
- Use to fill in missing letters of words
- Have students build words with sticks
- Make real or nonsense words
- Use as a simple assessment or complete assessment of sound understanding
- Review letters and sounds quickly
- Keep on hand for reversal issues such as b, d, p, q
- As a great review for RTI and SST students
- Easy differentiation with students using the sound sticks they need
- Finally, these are fun visual support for sand trays or other sensory phonics activities that can be used in sensory bins
You can grab 78 sound stick printables by clicking here.