


Check out this fun sensory bag idea you can use at the beginning of the year or as a review game any time of the year! All you need is a dry sensory idea, a baggie, and paper. Check out how to create this activity for your classroom.
The Inspiration for the Sensory Bag Idea
First, I saw this AMAZING idea on Pinterest all about sensory bags using sight words and rice. http://handsonaswegrow.com/i-spy-sensory-bag/ And I was inspired.
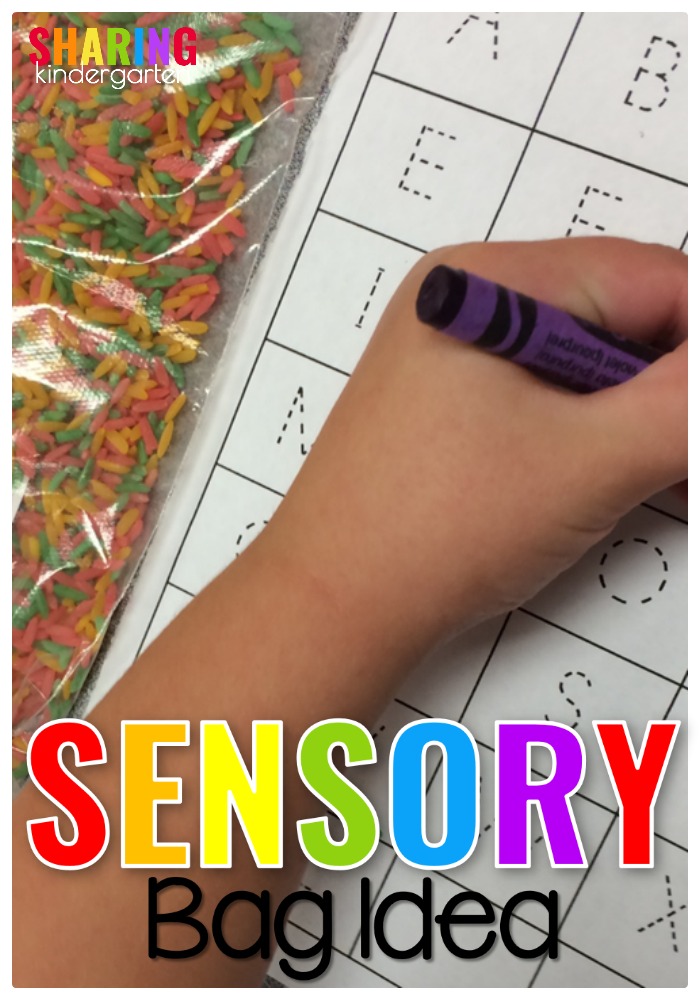
Secondly, I wanted to make a sensory bag for the beginning of the year fun… and do it my way. So I took some white card stock and crayons and wrote letters on the paper. {I did trim the paper beforehand to make sure it fits into the baggie.
How To Make This Activity

1. First, I made 6 versions of this paper shown above. All six pages have the same color letters on each one. The color was the same, but the location of the letters was not the same. I used card stock.

2. Then I put each sheet into a gallon-size baggie. I had some colored rice, so I added it to each bag. You could easily use another dry sensory item. 🙂

3. In small groups today, each learner looks through the baggie to find the letter buried in the rice. When they find their letter, they take the SAME COLOR crayon and trace over it or color that letter on the answer sheet.
Playing the Sensory Bag Idea

This activity also works with white rice. I do recommend underlining the letters that could easily be flipped like a m and a w. This will help your students identify the letters.

The colors really stick out this way. This is the way I would go next time using the colored crayons if you opt to use rice.
We did discover two problems. Some of my little learners had trouble with the rice and one friend did poke a hole in the bag. {Accident or intentional? Who knows} But I kept experimenting to find how to make this sensory bag idea the best.
We also had lots of rice getting under the paper, thus making the project not as much fun. So I tried the same idea with elbow pasta…

The elbow pasta also worked great and I got NO HOLES in the bag. I also took a few minutes to TAPE down the card stock to the bottom of the bag FIRST. {I put tape all the way around the paper so no pasta could get behind it.}

After several attempts, this version created the ultimate success for me and my students. Laminating the sheet with the letters on it before use will help too.

Finally, to make this sensory bag idea the most successful, I made this printable in uppercase and lowercase letters for you to grab for free.

I can’t wait to try this again with my class. Do you think you will give this a try in your classroom?
And if you need more phonics help?
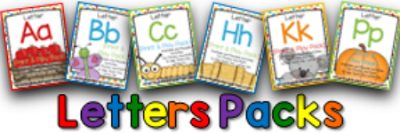
Keep in mind I have letter packs that will make letters so much fun!
Engaging Moments in ELA(Opens in a new browser tab)
-
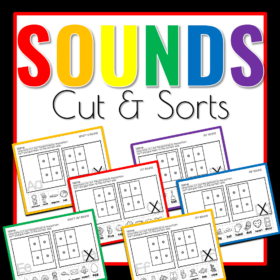 Sound Cut & Sorts$3.00
 -
 Sound Sticks$3.00
 -
 Product on saleLetter BIG BundleOriginal price was: $130.00.$100.00Current price is: $100.00.
This would also be great for numbers!
Tara
The Math Maniac
Love this idea Mary! We will be doing this next week. I have quite a few this year that need practice learning their letters. Thanks so much for sharing.
~Laura
Luv My Kinders
Thank you.
Numbers would be awesome too! Thanks so much! This will make great "word work" and/or writing work for D5! 🙂 Thanks!
What a great idea, portable sensory bags! I'm definitely going to make some for my classroom!
Thank you for sharing! I have capital letters made out of foam. They are textured too. (Sassy Count & Spell Bath Appliques) I have had them put up for over a year trying to decide how I wanted to use them. You have inspired me to use the letters in my sensory table! I will use it this week at school. Awesome!
What a fantastic idea! Thanks for sharing!
-Andrea
This is just too clever. I am going to spend Labor Day weekend filling bags with rice and/or pasta. Love this for my kinder-bears. Thank you.
I appreciate you cutting the size down to save ink and paper!
I love this! I am using it in my classroom this week and my kids are loving it too! Going to share about it on my blog as a part of my weekly literacy center update. I am giving you full credit and linking back to your blog!
This is great! Thanks for a wonderful idea.
Thank you so much! This would be even better for first grade if the lines were added so they were getting printing practice as well.Great idea!
Thank you so much for this cute idea AND the probs/solutions you encountered! Can't wait to make for my kinders!
I can’t wait to try it.
Maybe for beginning sounds hide pictures. Like a red ant=trace the “a” red, blue bucket….
Or hide the colored letters color the pictures corresponding color?