

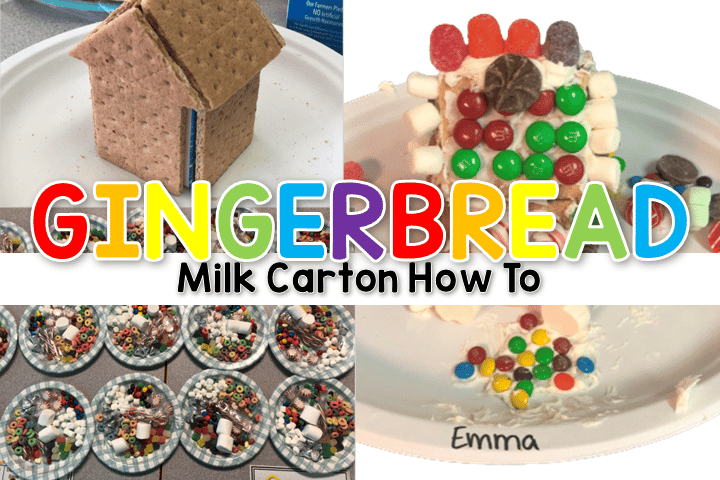
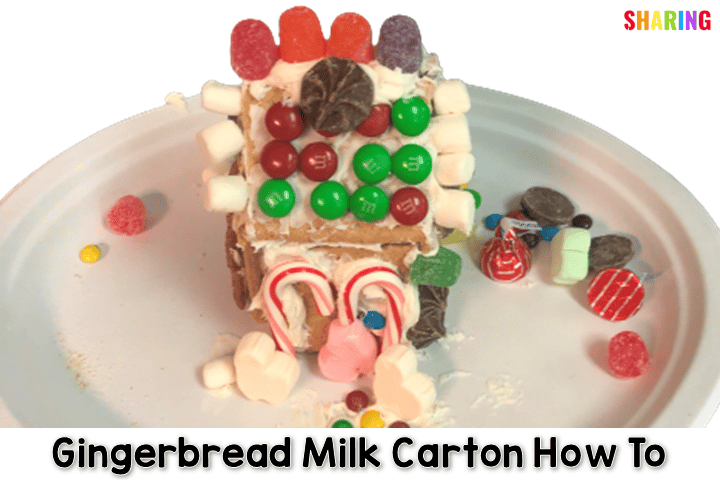
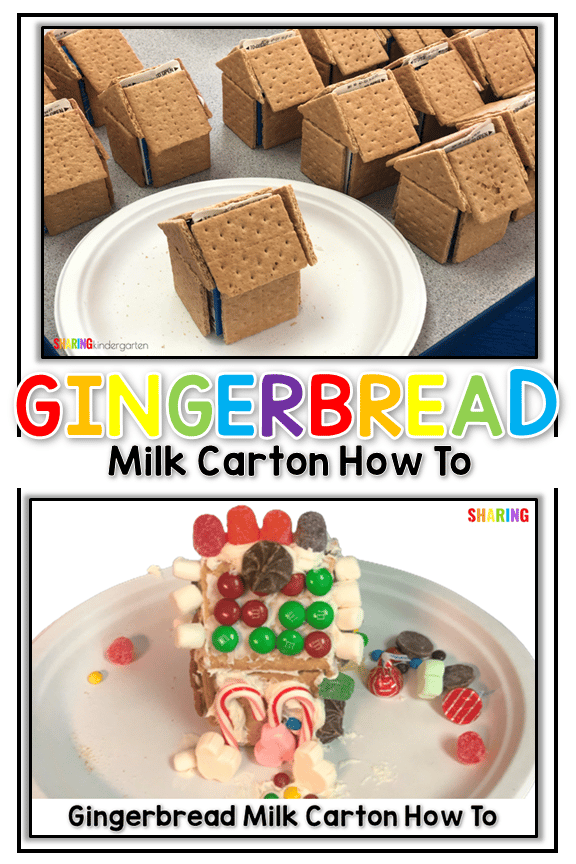
Milk Carton Gingerbread Houses: Are you looking for a fun way to build milk houses gingerbread houses in your classroom? Let me show you how to make a gingerbread milk carton house in a classroom setting. This is a tradition many Kindergarten and preschool classrooms do every year. You can do it too. Check out the example of a gingerbread milk carton house below. Are you ready to dive into creating a gingerbread house with graham crackers and milk cartons?
We just added some student photographs of completed houses at the bottom of this post for your students to grab some inspiration.
Milk Carton Gingerbread Houses How to List
First, you will need to gather a few things to build your gingerbread milk carton houses. Here is the list of what we use for our gingerbread milk carton houses. This is what I use for small milk carton gingerbread houses.
– sturdy plates
– boxes of graham crackers (each house will take 6 1/2 pieces, but ask for more since they can break.)
– a cleaned-out and DRY milk container. (Some people prefer to buy these on Amazon.) I am sharing this because sometimes people ask about school milk cartons and where to buy them.
– frosting (I prefer the royal frosting.) I make two double batches at home the night before we assemble houses.

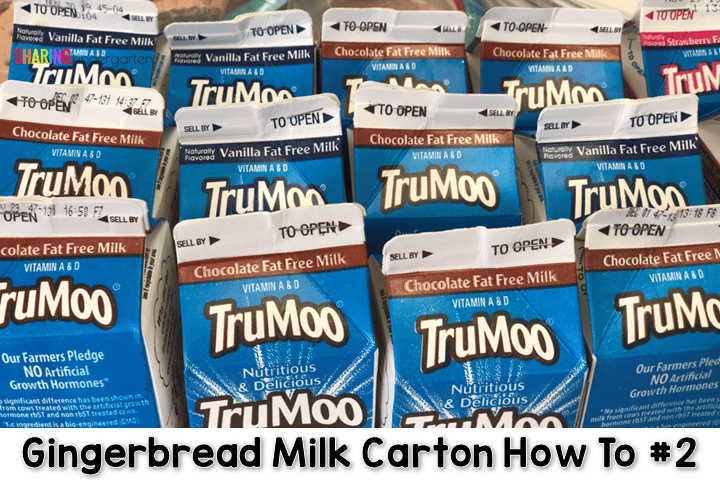
Step 1: Milk Carton Prep
To begin, snag some milk cartons. (I mean, these are milk carton gingerbread houses after all.) We use the school version and we clean them out really well. Then, and this is the key, we let them dry out for days. We don’t want the milk cartons to smell like sour milk.
Now, if this grosses you out, you can try an alternative like these disposable cardboard milk cartons on Amazon. These can get pricey, so just be careful and look closely before purchasing.
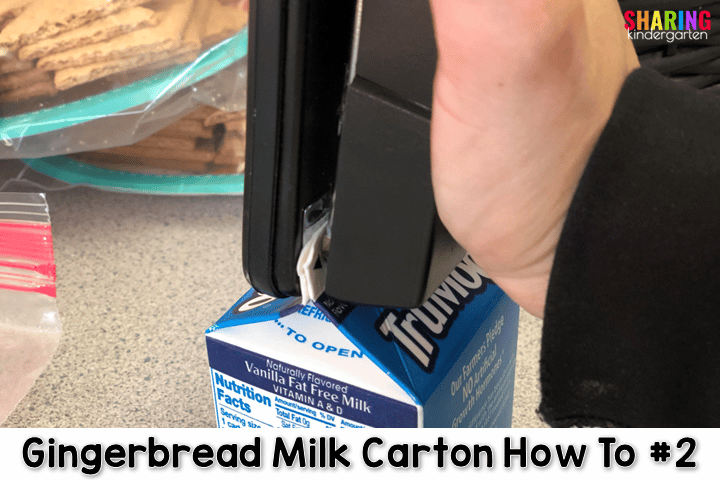
Step 2: Staple the Milk Carton Closed
When the milk cartons are completely dry, staple them closed. Trust me, you can not miss this step. I have made these houses for 18 years. One year, we accidentally skipped this step, and the roof pieces came off in step 5. Once we saw our mistake, we had to staple the carton back and reattach the roof pieces.
-

-
 Gingerbread Activities$5.00
 -
 Product on saleGingerbread BundleOriginal price was: $14.00.$9.80Current price is: $9.80.
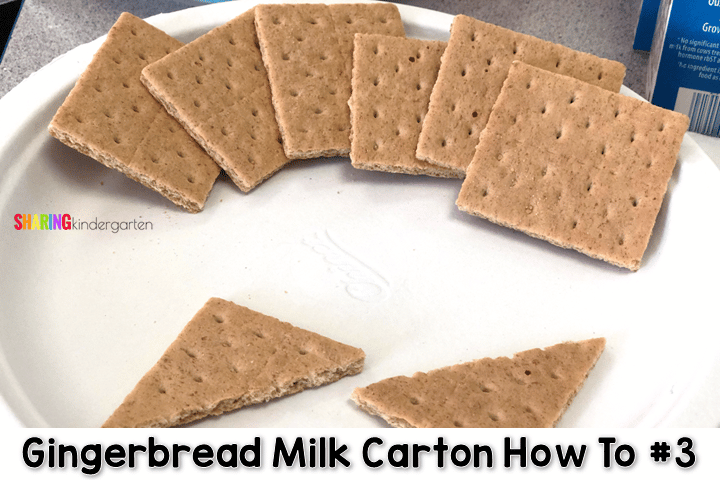
Step 3: Prep the Graham Crackers
The next step is very important for the gingerbread milk carton houses. You have to prep the graham crackers. The day before we assemble the houses, we take time to break apart the graham crackers. Each house will take 6 squares and two triangles. Why do I do this? My planning and prep periods are super fast. If I do a little each day, we can get it done.
Look twice at those triangle pieces shown above. These are square graham cracker pieces that we have sawed in half to make two right triangles. I have found that using a plastic knife for the triangle cut works the best, even better than a metal knife. These literally fit perfectly on the gingerbread milk cartons, so we take time to do this each year.
Step 4: Build the House
The night before the students decorate the houses, we assemble the houses and let them sit overnight to harden. I typically do this step after students leave for the day and leave the houses to harden overnight. I prep royal icing using powdered sugar and Wilton Meringue Powder. I make this at home with my stand mixer and bring it to school.
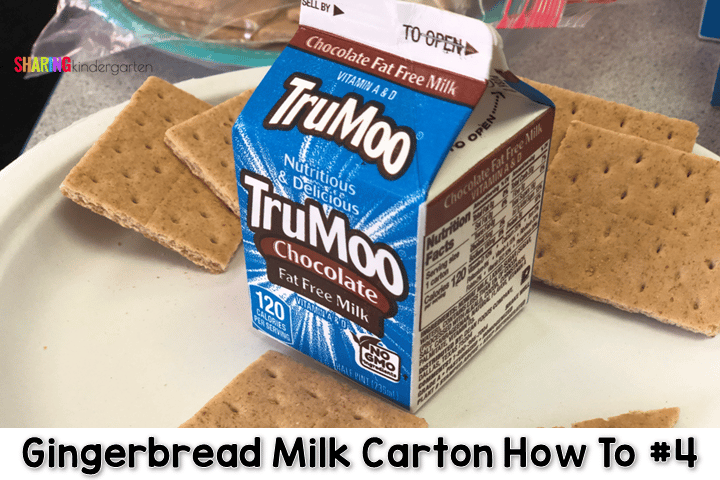
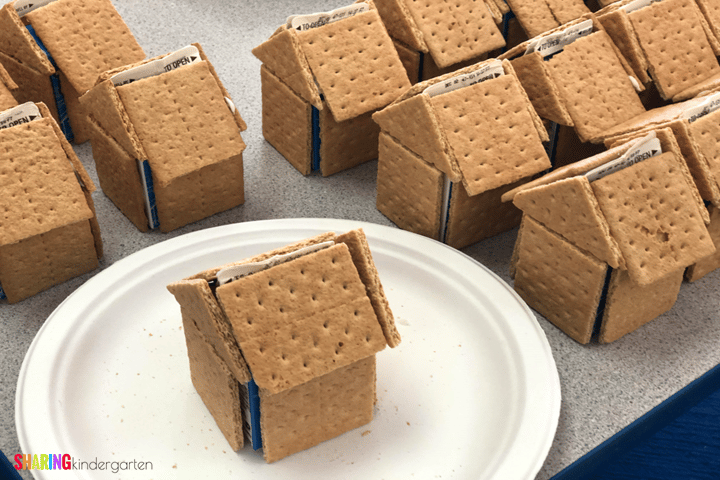
To build our gingerbread milk carton houses, I take the 6 graham cracker squares and two triangle pieces and lay them on a plate. Next, I add a spot of royal icing directly onto the center of the plate. Then, I place the milk carton on top of the icing spot. This acts like “glue” to hold down the gingerbread milk carton house to the plate.
Now, the gingerbread house assembly begins. I use the royal icing to place a spot on all four sides of the milk carton. Then, we add four of the graham cracker squares to the sides. Next, we repeat the icing and square graham crackers to the roof, as shown.
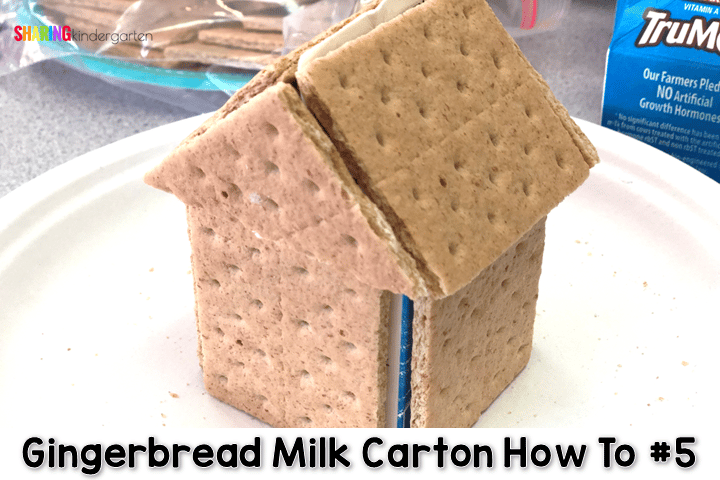
Step 5: Finish the house with the Triangle Graham Cracker Pieces
The last step to making gingerbread milk carton houses is to add the triangle pieces. I feel this step gives the houses a finished look. Keep in mind, that this works best if you do it after you attach the two square roof pieces. For this step, add a bigger amount of royal icing to the remaining part of the gingerbread roof. Attach the triangle pieces to either side. You may have to hold these pieces in place for a few seconds.
Keep in mind that these houses typically look amazing when I assemble them. My room is pretty humid and I work in Georgia. By the time these houses dry and harden, they shift a little bit. I want you to see that the gingerbread house milk carton houses don’t have to be perfect. They will be decorated and all imperfections will be fixed.
I will be adding the room prep and decorating tips soon for milk carton gingerbread houses.
-

-

-
Product on saleGingerbread BundleOriginal price was: $14.00.$9.80Current price is: $9.80.
How to Make milk carton gingerbread houses with graham crackers video

Appreciate the step by step instructions.
I’m thinking about making this in school club. I will have about 24 kids from kindergarten to 2nd grade. Do you build the houses for them? My club is building stem club and I will be the only teacher in there.
I have taught k-2 and all I do is glue the cartons closed and glue them down to the paper plate and put their names on the plate. I do this the afternoon/evening before they make them (after they go home for the day) so they have tie to dry and set completely. Until this year I gave them all plastic knives and icing and they did fine (just watch the licking and sticking the knives into other peoples icing yuck). This year I got quart bags (just because they are a bit thicker) and I am putting enough icing into each one for one kid and will snip the ends off when we start. I am also dividing all the candy into sandwich bags and will then put the sandwich bags and icing into a gallon bag (this will stop a lot of fighting about who has what). I have tables but have had desk, but I buy $1 table cloths and put down on all my tables or push desk together to make tables, this cuts down on clean up time too. I make them leave them over night to dry, then the next day we pack them into plastic bags like from DG store and write their names on them and send them home. They all love it, and the big kids get a little mad they don’t get to do them lol