Do you know How to Make a Classroom Banner? I have seen so many awesome classroom banners all over the place that I think are AMAZING.
But, I could never figure out how to get them to work for me.
Then I had a light bulb moment and figured it out!
This way be very basic,
but I am assuming there are other people in the world
who didn’t know how to create a banner
as well as those who are looking for more banner inspiration.
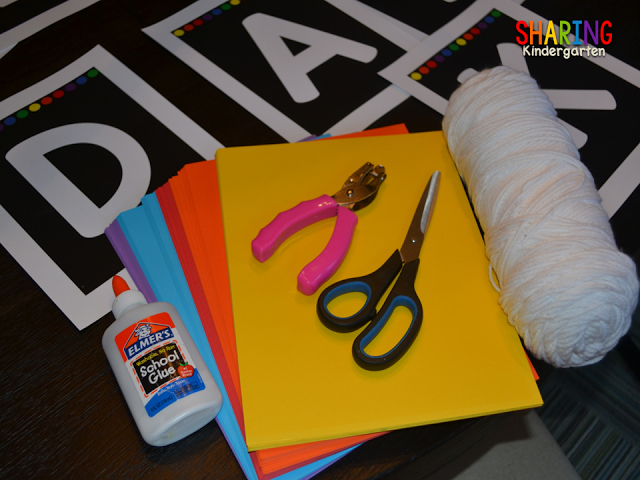
I will be using letters and numbers I created, colored paper or card stock,
glue, a hole punch, scissors, and string.
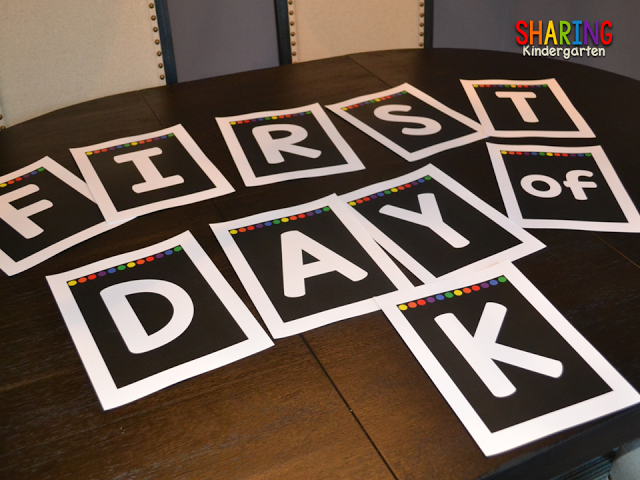
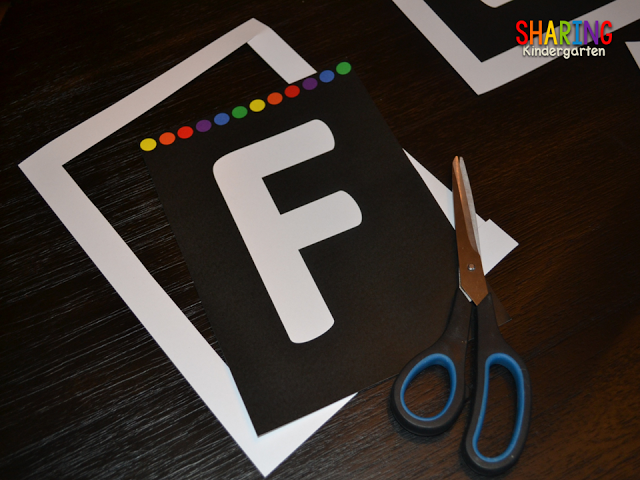
First, print out or make the letters you desire.
Some people use circles, banners, triangles, or other shapes.
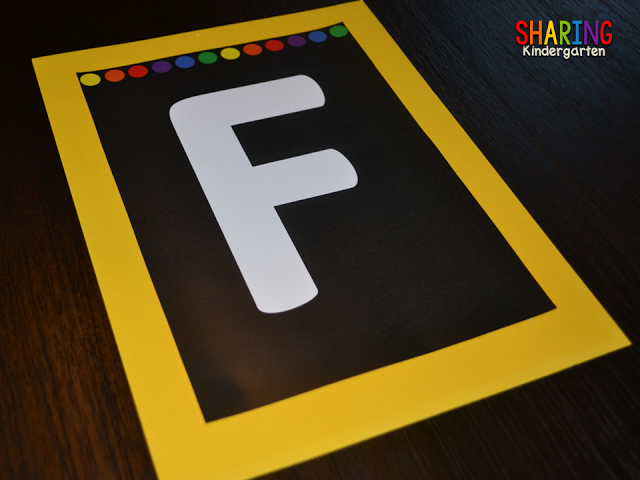
I chose rectangles because they are easy to cut and create a background.
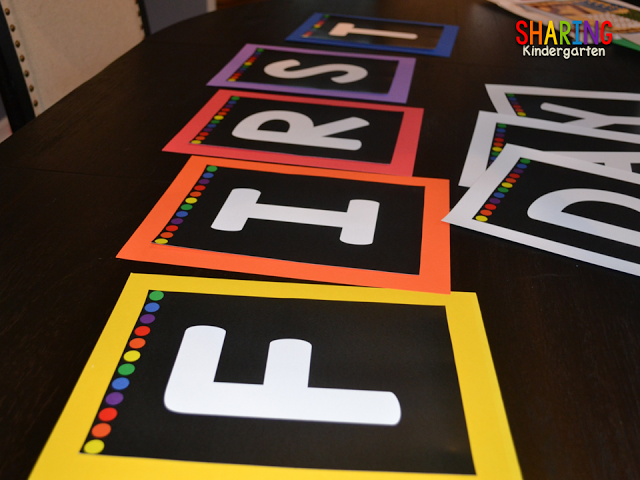
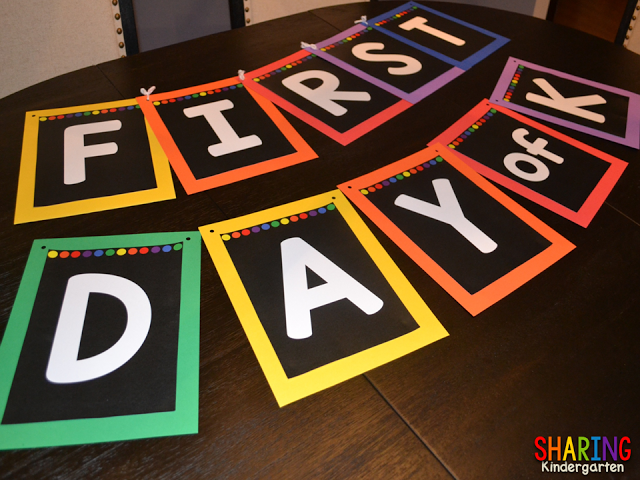
This sign is going to say “First Day of K” for the background of the first day of school.
I have found that when you print letters, sometimes the feeder doesn’t align perfectly.
Therefore, I chose to trim the edges. I do think it would look awesome with some of a white border.
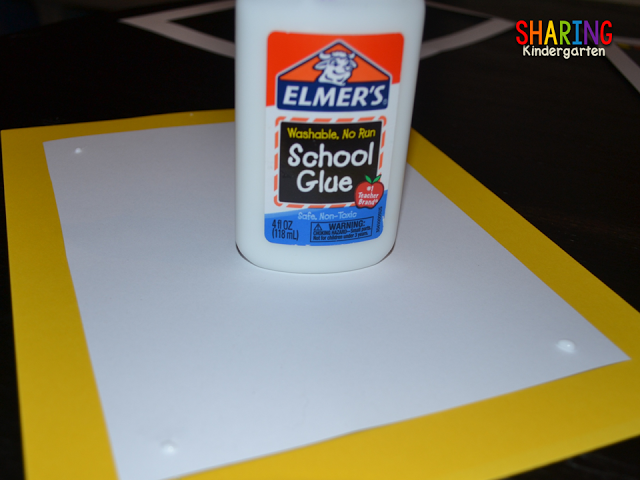
Then I added small dots of regular glue to the covers of the back side.
I didn’t want to use rubber cement glue
but I didn’t think the heating systems at school who play nicely with that glue type.
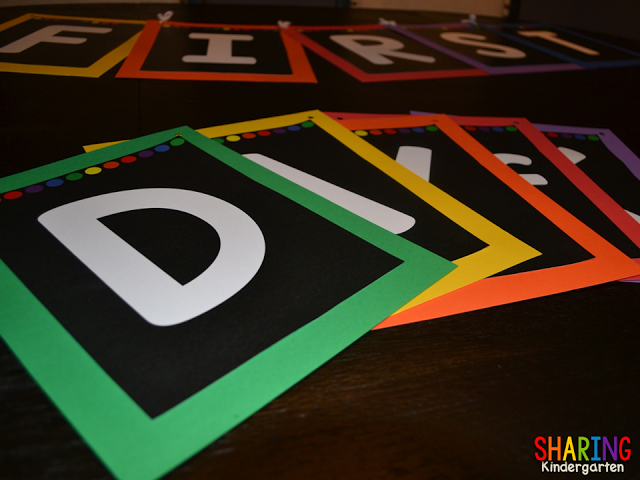
Next, I align the letter with the paper in the center.
I continued on with this process, giving each letter a different color background in a pattern.
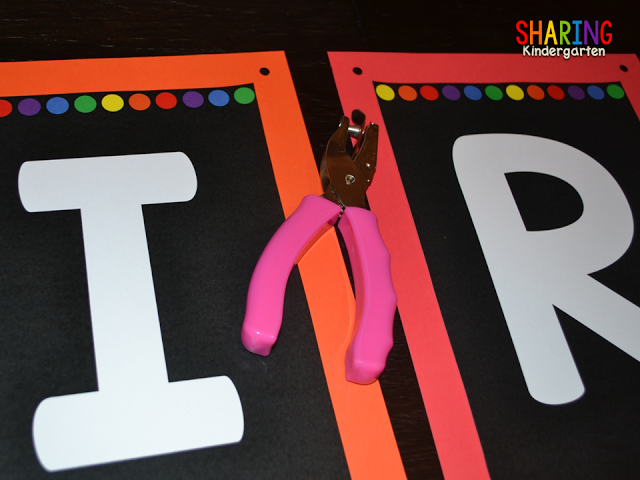
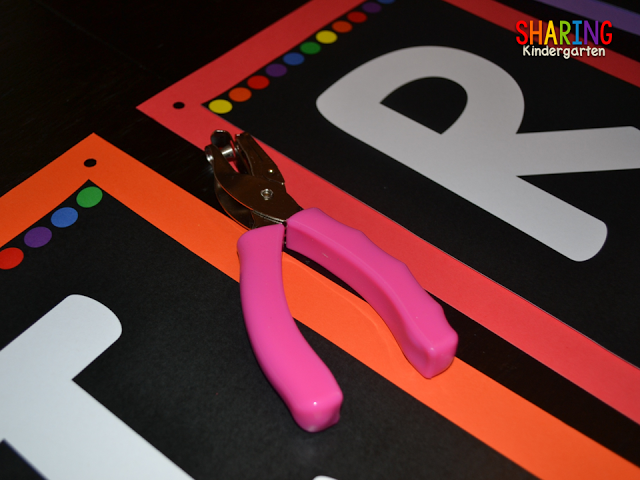
I continued with this project by hole-punching the corners an equal distance from each side.
I wanted the hole punch to be as similar on each as possible.
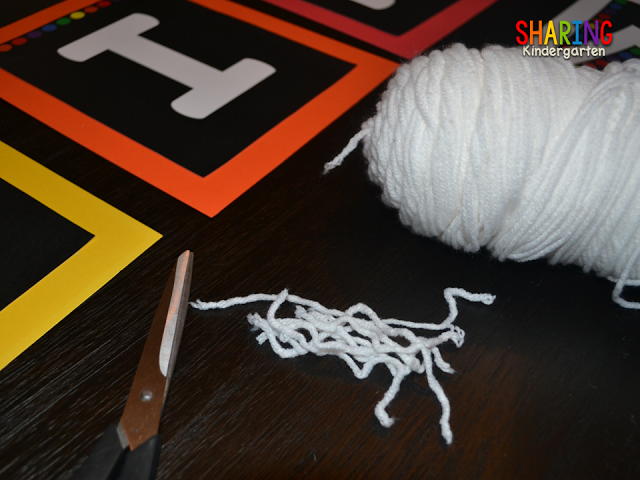
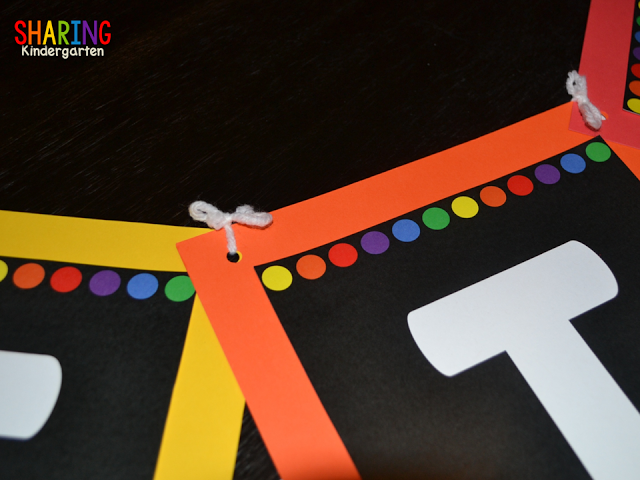
Then, I cut small pieces of white string into smaller pieces.
You can use ribbon or other materials.
I had white string and didn’t need to buy any additional materials.
I also assumed most of you would have white string in their classrooms.
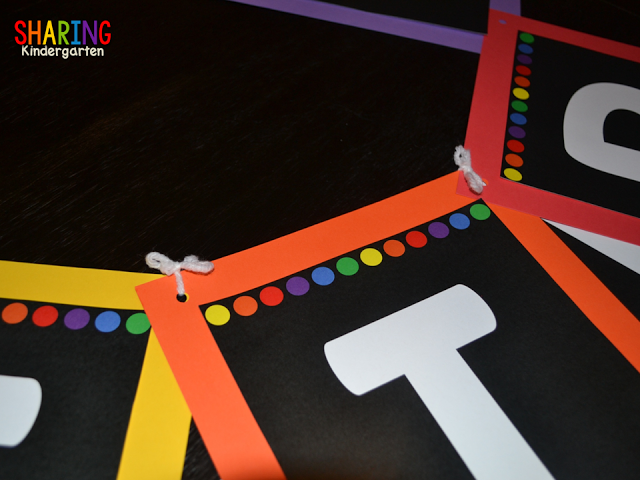
I tied each of the two letters together.
I made sure I kept the same letters going over for each banner.
See how the orange goes over the yellow?
Then the red goes over the red?
I tie the string at the top.
It won’t show much since my walls are white and these will be hung high.
You can always tie these in the back to hide more of the string.
Now the sign in connected.
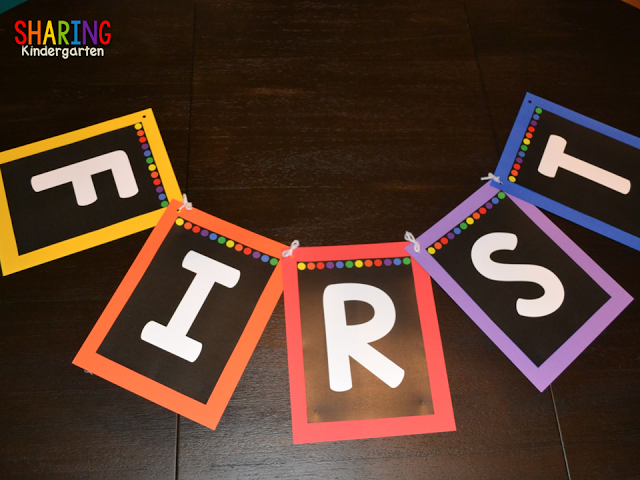
You can also decide if you want this banner to be one row,
or two.
One of the things I love is how you can connect the parts you want to
and then easily take them off as needed.
Pretty simple right?
Well, I had to step it up a little bit.
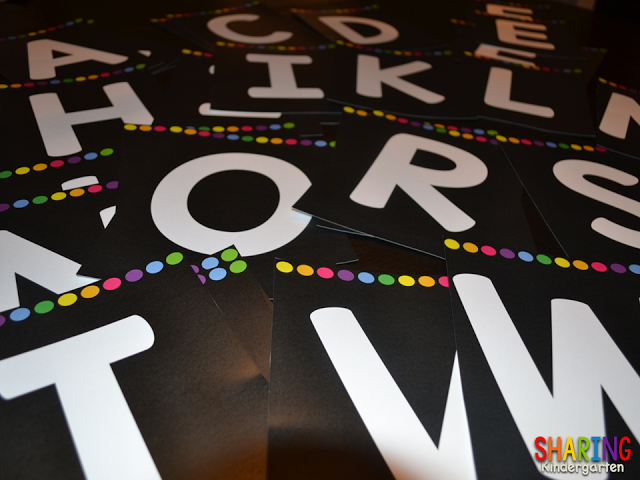
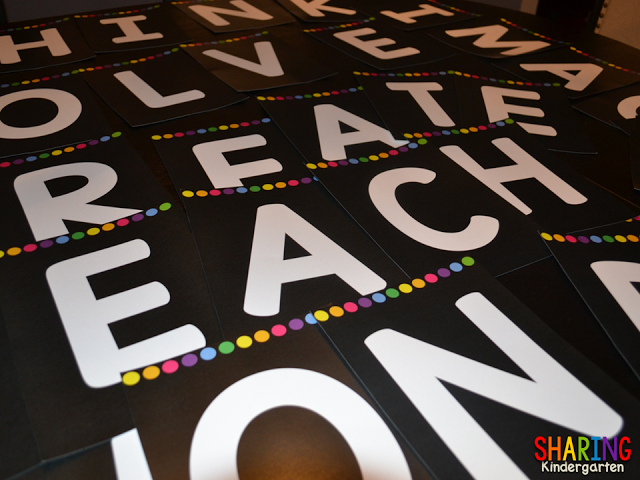
So I ran out to my office supply store and printed all these letters!
{It was a LOT of ink so I felt the 70 some cents a print was well worth the price for their ink!}
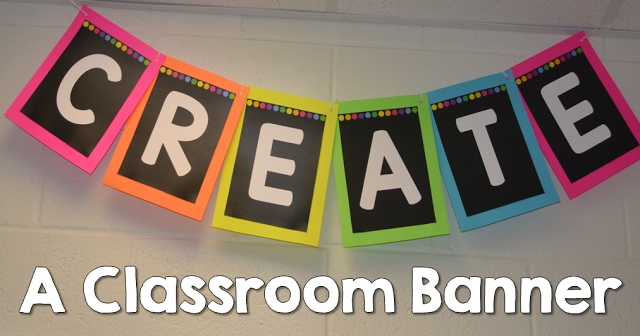
This set was slightly different because it features NEON colors.
This is outside my comfort zone since I always use primary colors.
This is outside my comfort zone since I always use primary colors.
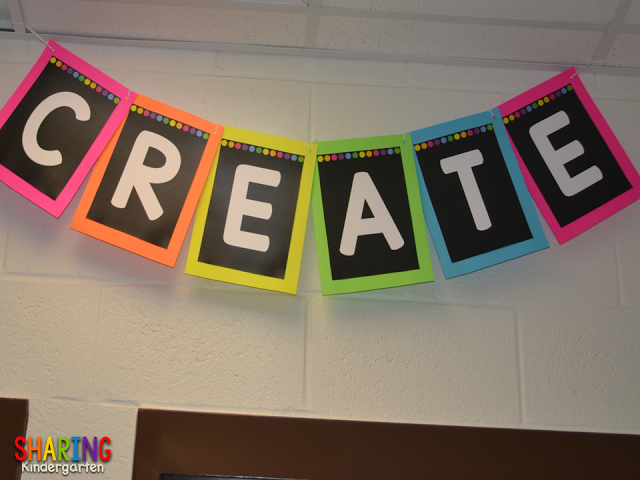
And here is an example of the NEON print sign that was made the exact same way!
I used this Astrobright Neon pack of paper to match my colors.
I use the same white string on each side of the banner, equally.
Then I hang it from the drop ceiling frame.
You can hang these in many other like hot gluing the top pieces,
use command hooks, or use ceiling hangers.
For my First Day of K sign,
I am using adhesive button magnets to attach it to a whiteboard.
I hope this has helped you to make a banner for your own classroom!
I can’t wait to show you what I am doing with my banners!
Neat ideas. Thanks for sharing!
Alyce
Love them. So bright and eye catching!
Where did you get the cute black background with neon dots?
Do you have the letters without the dots on top??
I only have a version with dots. If you want this without dots, purchase it. Send me the date and user name you bought it from and I will edit the file to take the dots away and send it to you via email.