

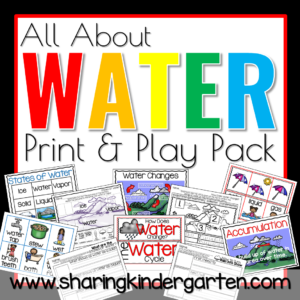
Water Cycle for Little Learners: Let’s chat about how to breakdown the water cycle for little learners in lots of fun ways. Since I live in Georgia and snow isn’t a common occurrence, I like to have this unit prepped and ready for when the cold weather does come! When the words “snow” and “ice” show up in the meteorologist’s vocabulary, we all start paying attention. When the teachers and parents start chatting about a “snow day” this unit becomes priceless.
Water Cycle for Little Learners
I always like to start with a book… or two… or three. My first advice is to use a book that will spark interest in your students based on the weather outside. For me it is snow, but you may be teaching this unit in the spring or even fall. I recommend starting with the stage of water RAIN for rainy seasons, vapor or gas in the dry seasons, and solid in those cold seasons. Example questions to pose would be “Where do puddles go?” or “How is snow formed?” or “Where does rain come from?” These are great open ended questions that can lead to a great discussion about the water cycle.
Water Cycle for Little Learners Books
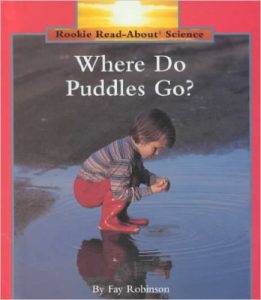
If you start with vapor or gas, I adore this Rookie Reader Science book titled, “Where Do Puddles Go?“
It is a great reader to discuss evaporation.
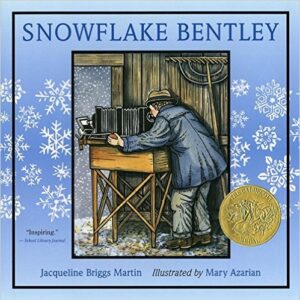
I found two amazing books about snowflakes, or one of the solid forms of water.
This book called Snowflake Bentley.
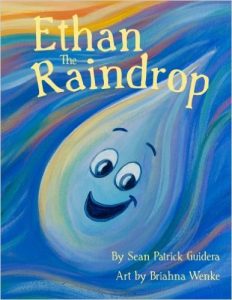
If you start with rain, or water in the liquid form, you can use this book Ethan The Raindrop.
Breaking Down the Water Cycle
I like to have my students talk about the initial state of water to “pick their brain.” It is a good chance to see what they know and what they don’t know about the water cycle. I am always learning misconceptions they have by simple just listening to their answers.
Many of my students understand that ice turns to water. They experience this concept often. If needed, we bring in ice into cups and time how long it takes to melt. The Yeti and Azark cup experiments would be awesome to do here if you can talk about insulation.
I try to prove to them any misconceptions as I can. One year a student didn’t think liquids like water mixed. So I took added a few drops of food coloring to each spot in an ice tray before freezing it. Then we took two different color ice cubes in each cup and watched as they melted. The colors blended together. So a red and blue ice cube made a purple liquid. Once we proved the liquids mixed together, we tried to predict what color the ice cubes would create. We predicted, then let them melt as we did another activity, then came back to see the results.
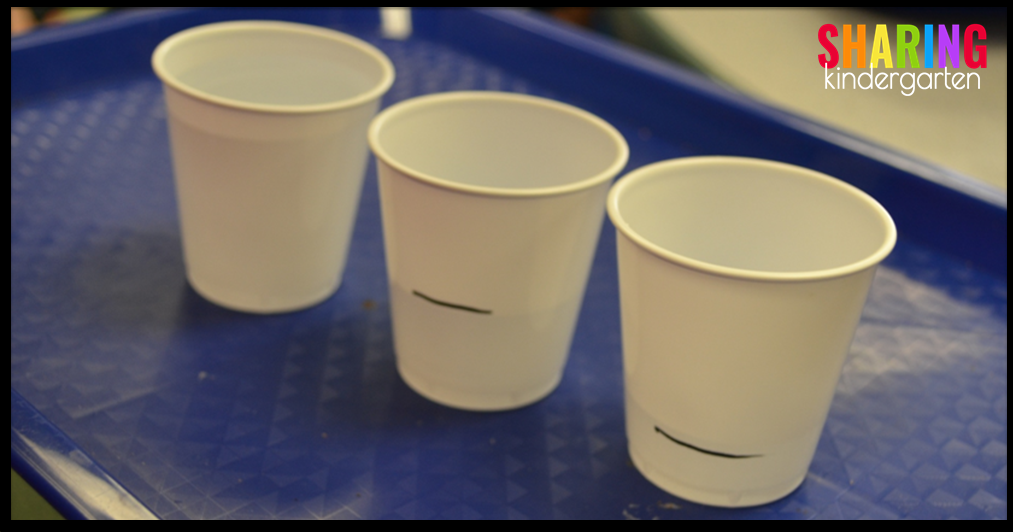
Another year my students were not sure if the amount of water would change how fast water would freeze. So we took three cups and placed different amounts of water in each cup. Then we placed them outside, because it was a very cold day. (If it isn’t that cold we place in them in the big freezer in the lunch room.) We checked on the cups every 10 minutes to see how fast or slow the water would free. You can see why keeping them close to the classroom was so important. We learned that the water with the least amount froze first. The cup with more water froze too, but not all the way through. (It just wasn’t THAT cold where we live.) We can also use this same type of experiment in the sun or in the shade to see that plays a role in the melting process.
I take the charts that are not filled in and use this to lead a class discussion using my smart board. I have recently started asking my students to help me to research the answer, instead of simply telling them the answer. So we use water cycle books I own and books we borrow from the library.
We also use digital resources like Epic! or YouTube videos I filter out ads on (learn how to filter out ads and link on YouTube videos here) so my students can begin to research and contribute answers.
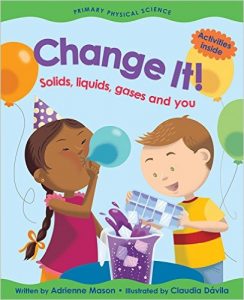
Here is another great title to use answer some of these questions about the water cycle.
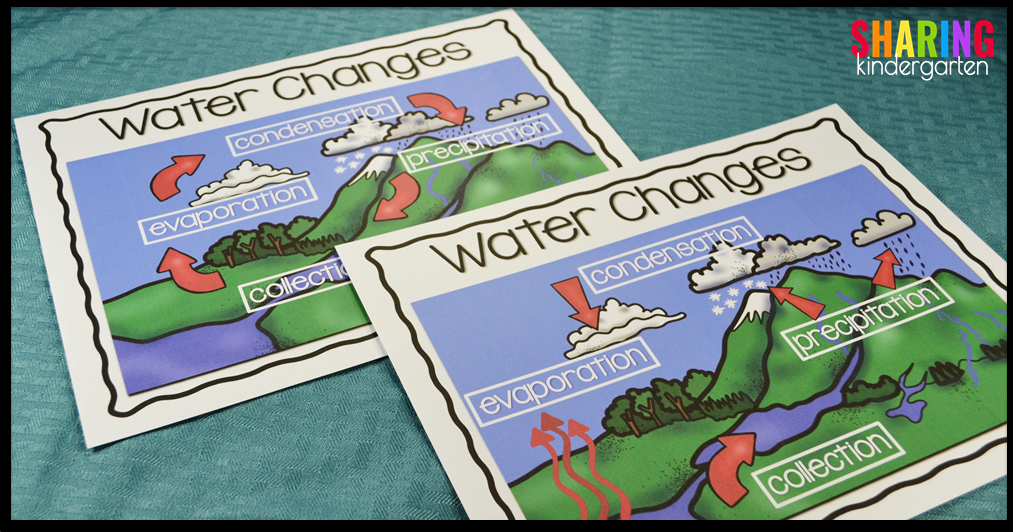
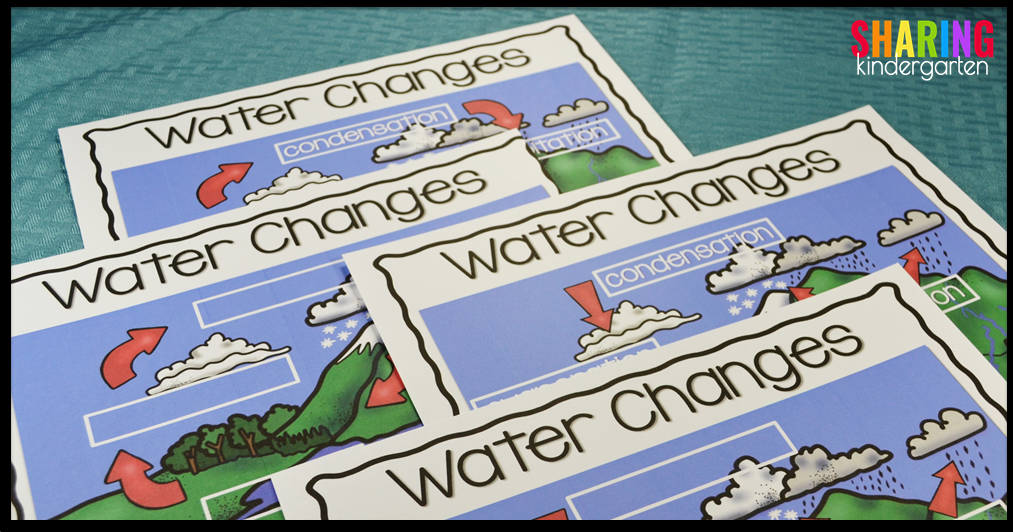
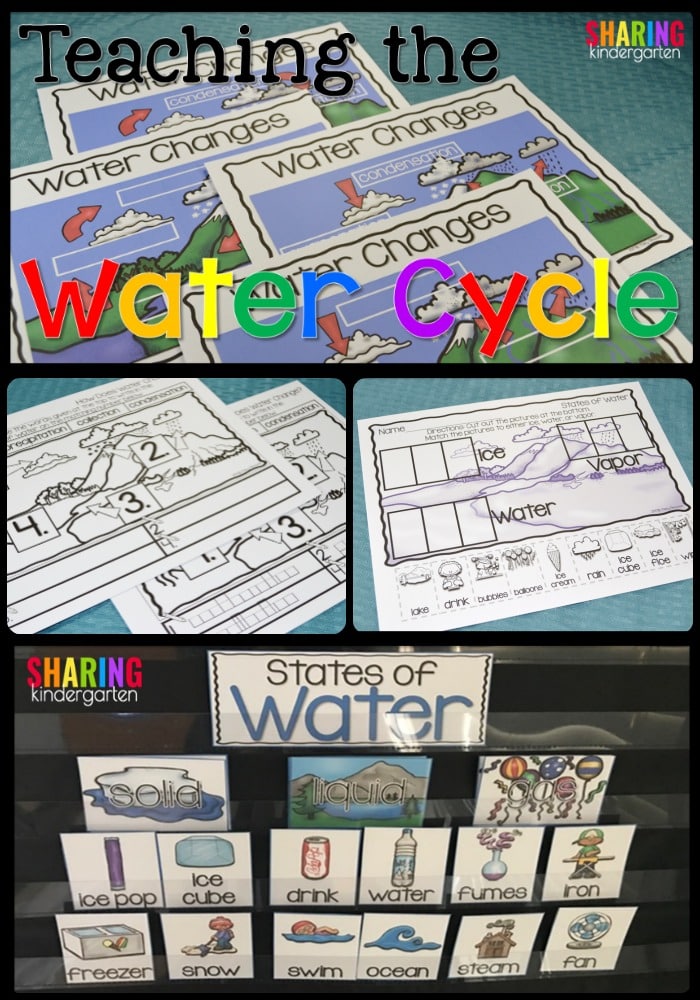
Here is another look at the variety of posters. One version has arrows showing the cycle. Another uses arrows to show where the state change occurs. I know that once we fill out the posters together, digitally in my case, I want to have a version to print out and display.
The Water Cycle
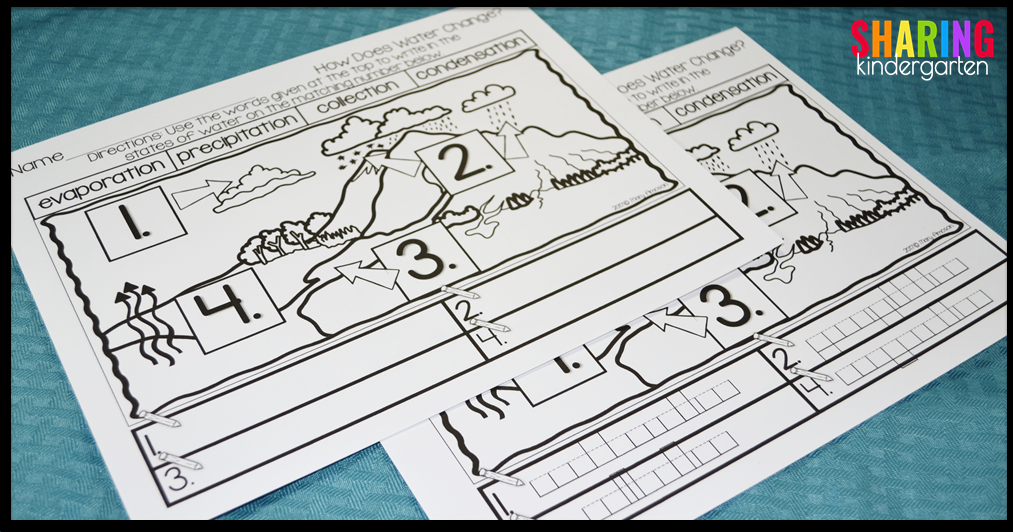
There is also a student friendly printable you can use with 2 differentiated versions. I know that the words are LONG and can be tough, so they are printed on the top for students to copy.

Here is a close up on the different versions.
We also need to talk about the water cycle more specifically.

States of Matter Sequences
I made this pocket chart sorting to work with three states of water for little learners. There are specific cards that also read the bigger words like condensation, precipitation, and evaporation.
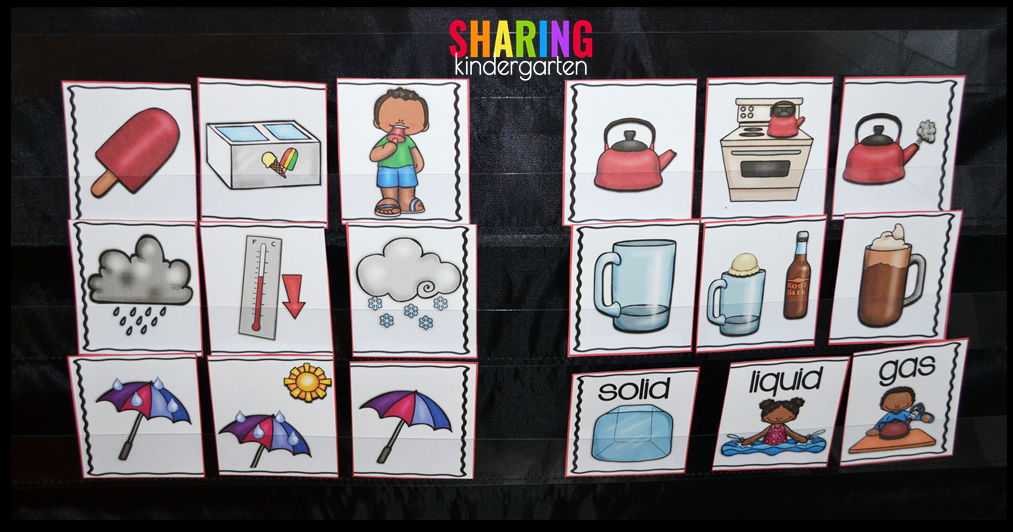
I also created state change cards to work on sequencing events using state changes.
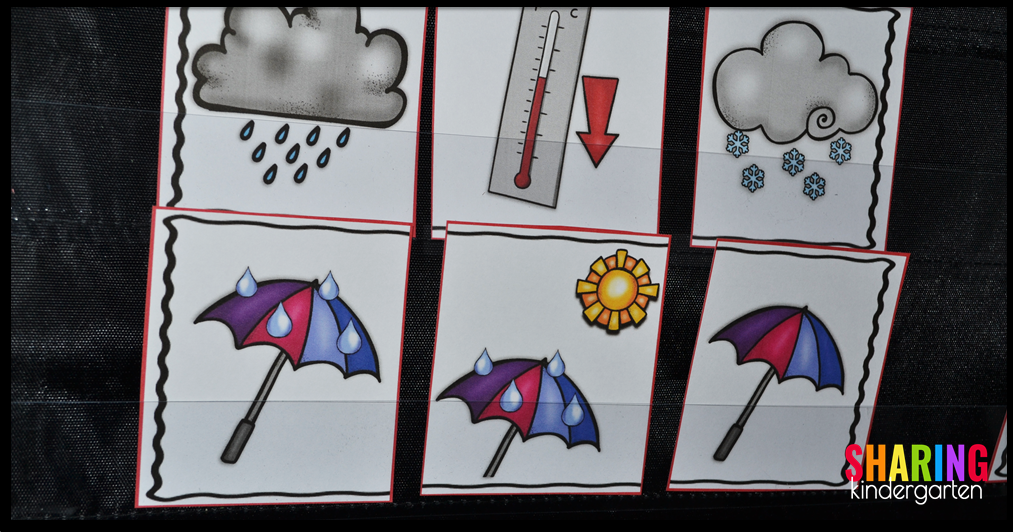
Here is an up close look at these cards. Wouldn’t they make the PERFECT center activity?!?
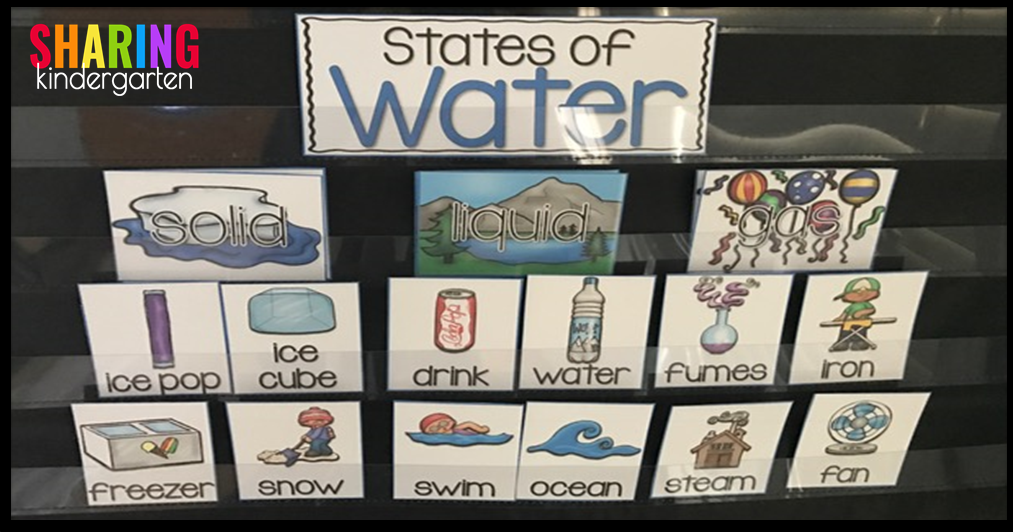
In the water cycle pocket chart show above, you can use these cards to sort the states of water if you desire. I made this set of sorting cards as well to show the states of water clearly.
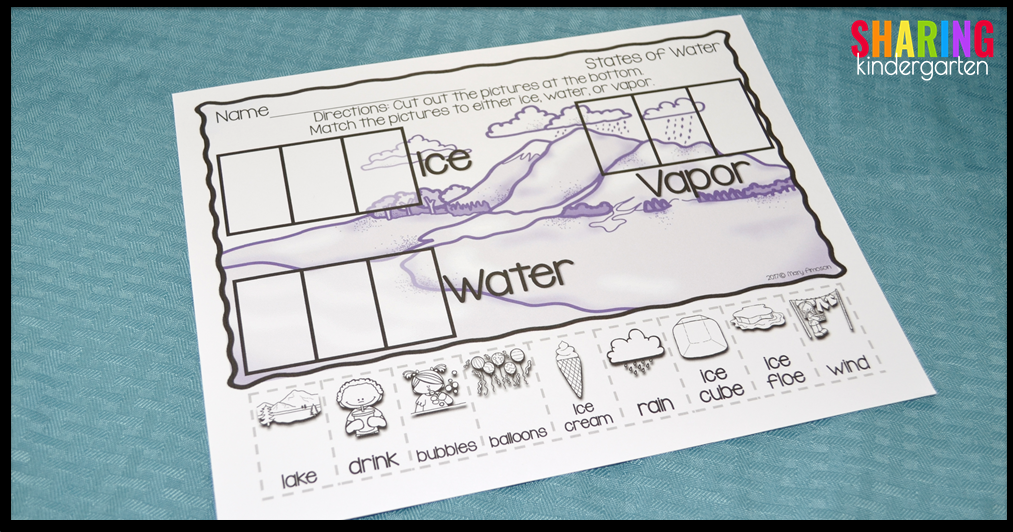
Your little learners can also complete this follow up sorting activity to show their knowledge of the states of water. Since time is always a factor in the classroom, I really have to tie in our learning to other content areas.
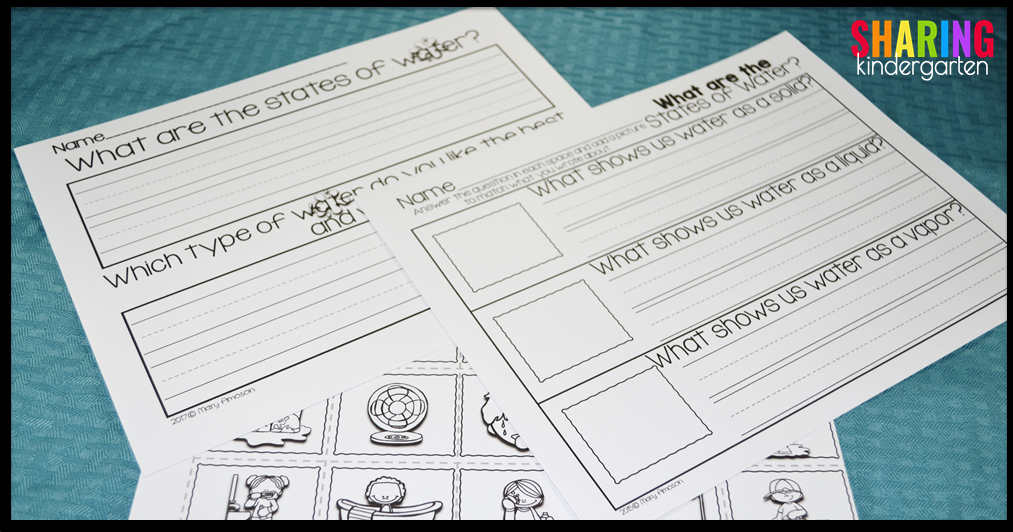
I created these writing sheets. We use these during our literacy block to connect the two subjects.
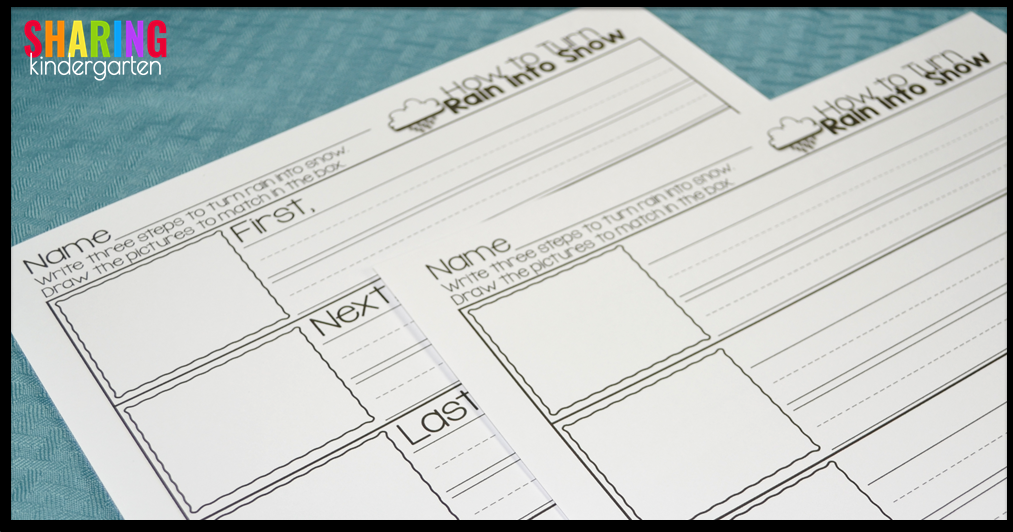
Here are differentiated printables for each of the three state changes as well!
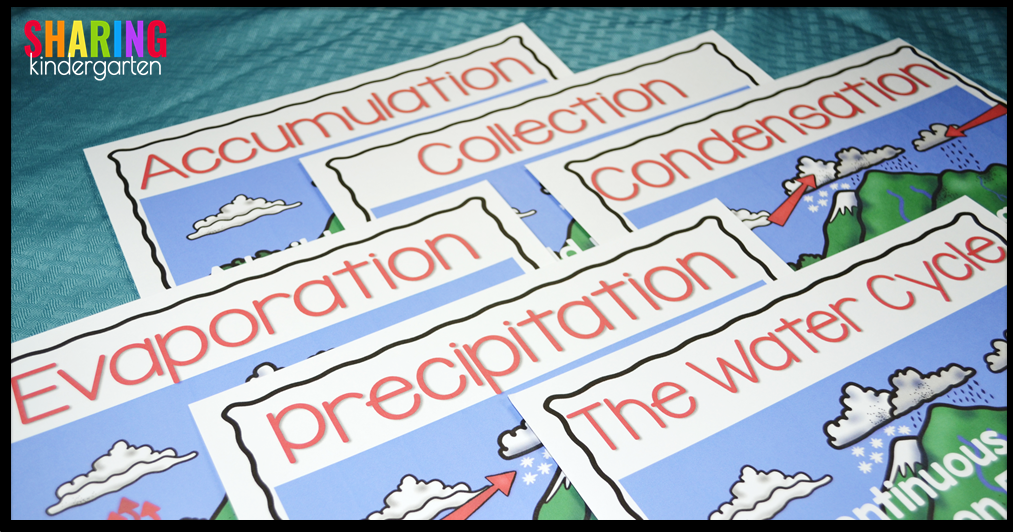

One of my favorite creations to implement in any and every science center would be these glossary terms to help explain the water cycle for little learners.
Here are MORE terms for the glossary with a printable version.
You can grab this unit here.
awesome I love the well organized info for our little learners